5 Easy Steps To Grow Microgreens Outdoors
You may have been wondering if you can grow microgreens outdoors. Yes, you can grow microgreens outdoors! Here’s how…
For all you green thumbs out there, we’re excited to announce that yes, you can grow microgreens outdoors! Microgreens are a type of vegetable that is harvested when they are young seedlings, and they are perfect for those who want to get into gardening but don’t have a lot of space. All you need is a sunny spot in your yard and some soil, and you’ll be able to enjoy fresh microgreens in no time. Keep reading to learn more about how to grow microgreens outdoors.
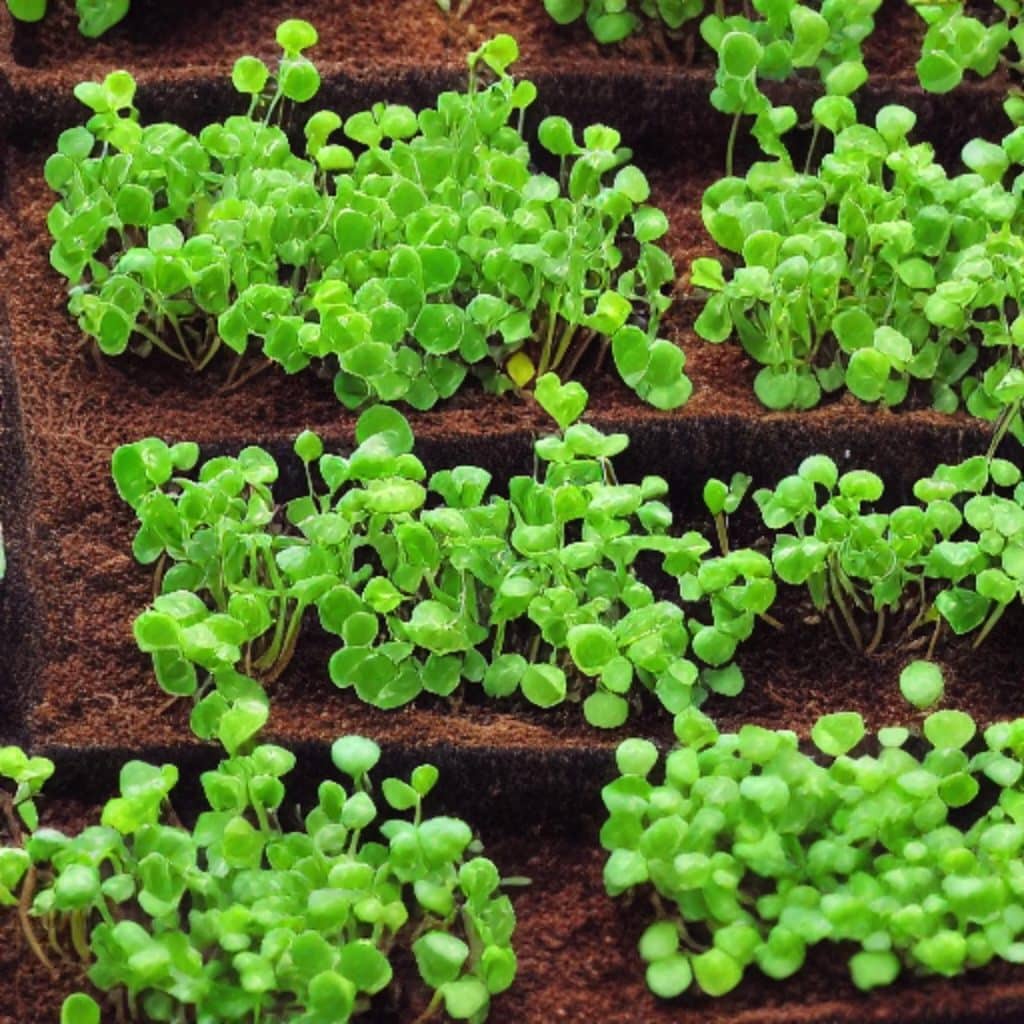
What Are Microgreens?
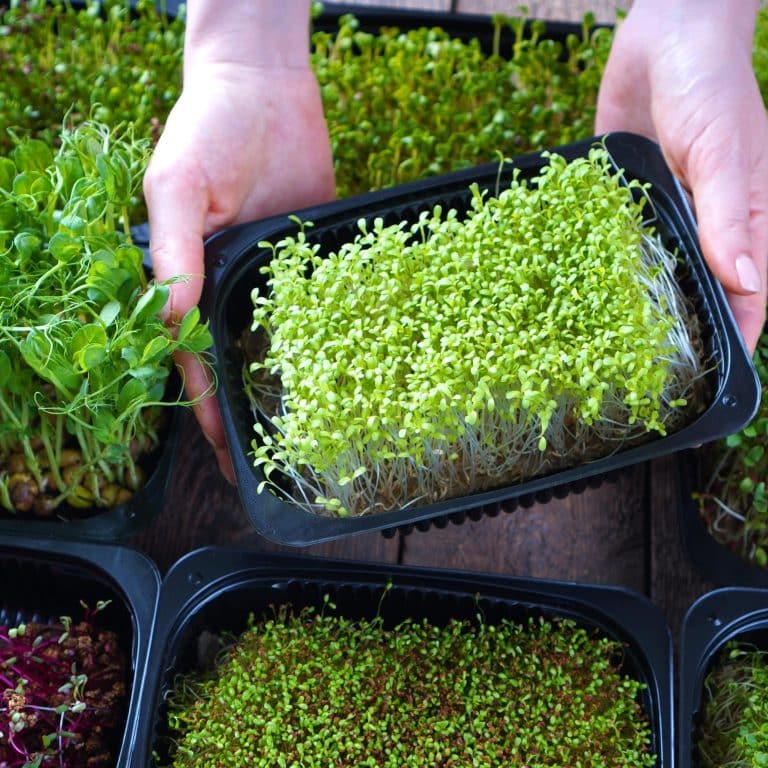
Microgreens are simply young greens that are harvested before they reach maturity. They can be any type of green, including lettuce, spinach, arugula, kale, or herbs. Microgreens are usually between 1 and 3 inches tall and are harvested 7 to 30 days after germination.
Why Grow Microgreens?
Microgreens are a great way to get all the benefits of greens in a compact form. They’re perfect for adding a burst of flavor and nutrition to salads, sandwiches, soup, and more. Plus, they’re really easy to grow!
Microgreens are a type of vegetable that is harvested when they are still young seedlings. They are usually no more than a few inches tall and have a delicate flavor that is a perfect addition to any dish, whether it be savory or sweet. While microgreens are typically grown indoors, there is no reason why they can’t be grown outdoors as well! Here are a few tips on how to successfully grow microgreens outdoors.
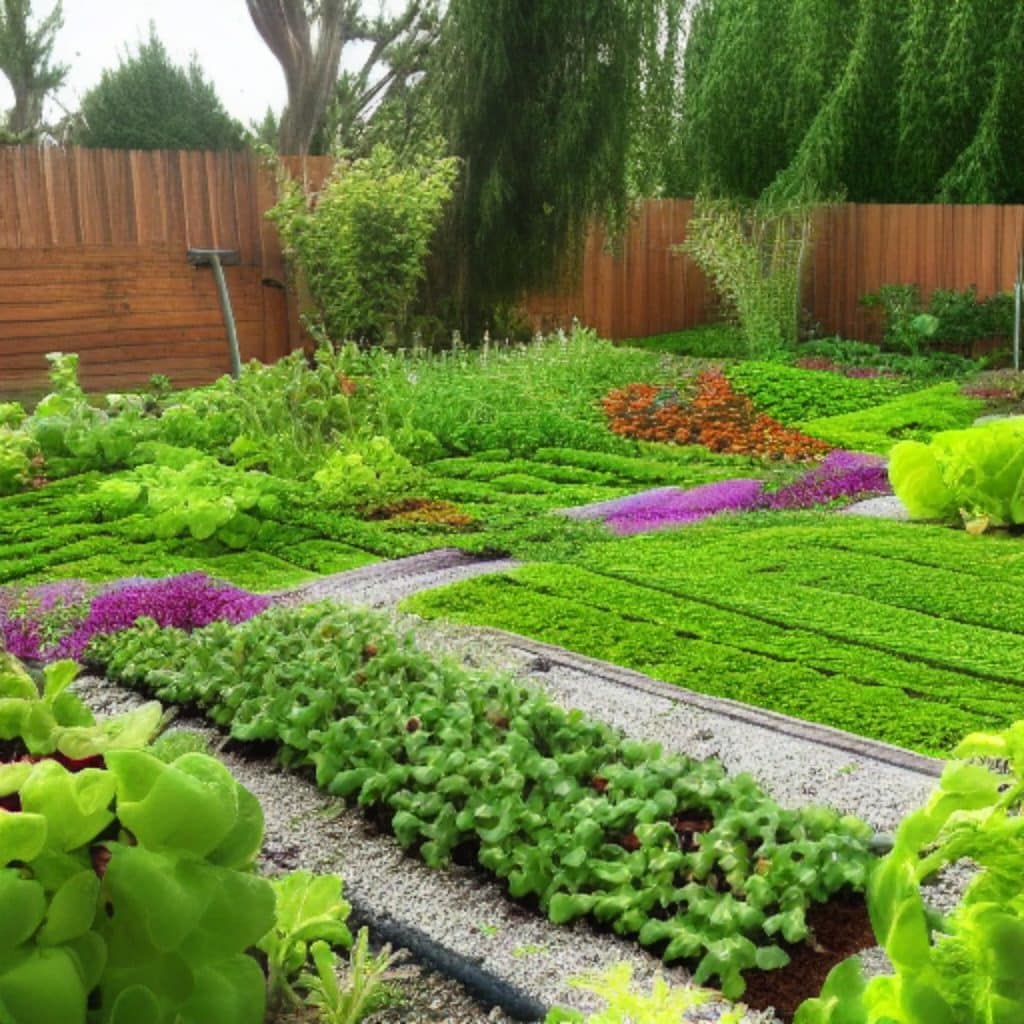
1. Pick the right spot
When choosing a spot to grow your microgreens, make sure that it gets plenty of sunlight. After all, plants need sunlight to grow! If possible, choose a spot that gets at least 6 hours of direct sunlight per day. Microgreens will also do well in a spot that gets partial shade, so don’t worry if you can’t find a spot that gets 6 hours of direct sunlight. Just make sure that the spot you do choose gets enough light.
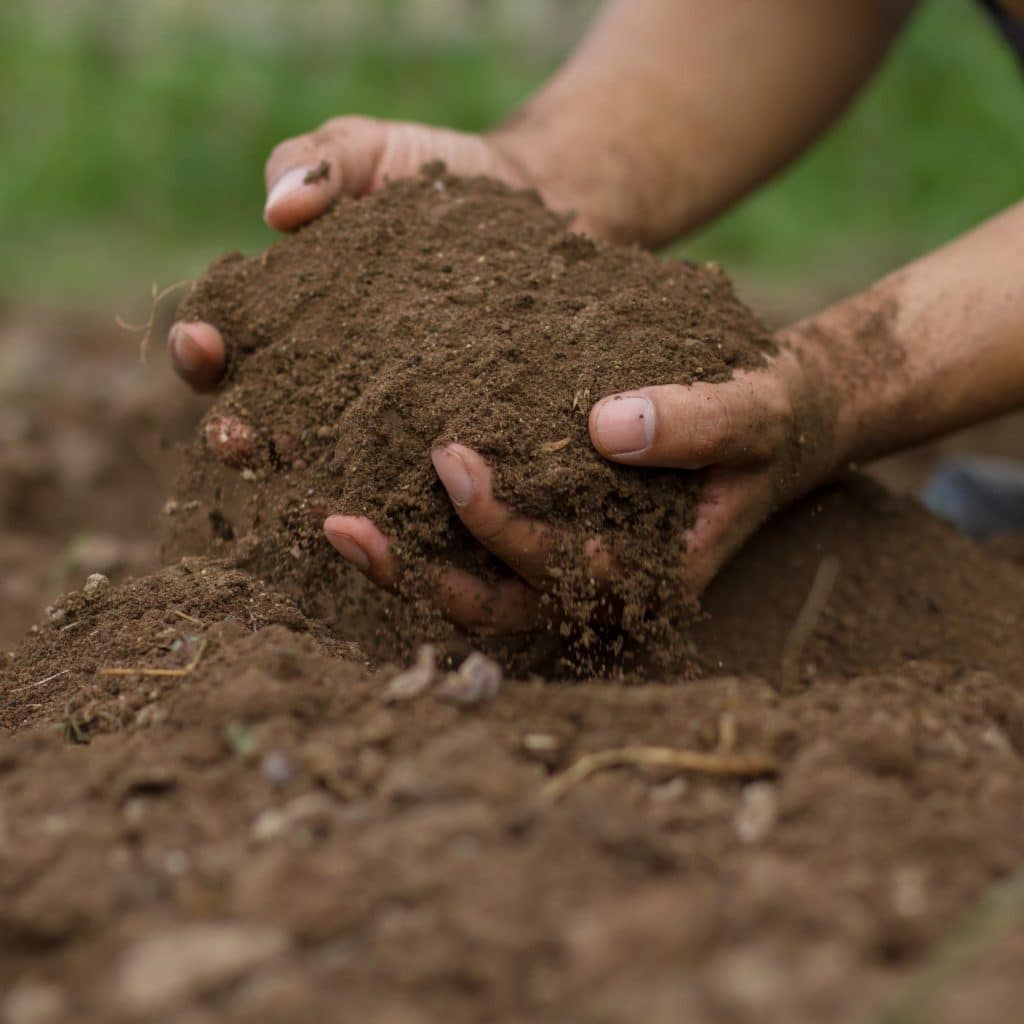
2. Prepare the soil
Once you have chosen a spot, it’s time to prepare the soil. The best type of soil for microgreens is loose and well-draining. If your soil is too dense or too clay-like, your microgreens will not be able to grow properly. It is also important to make sure that the soil is free of any debris or rocks. You can prepare the soil yourself or you can buy it from a gardening store.
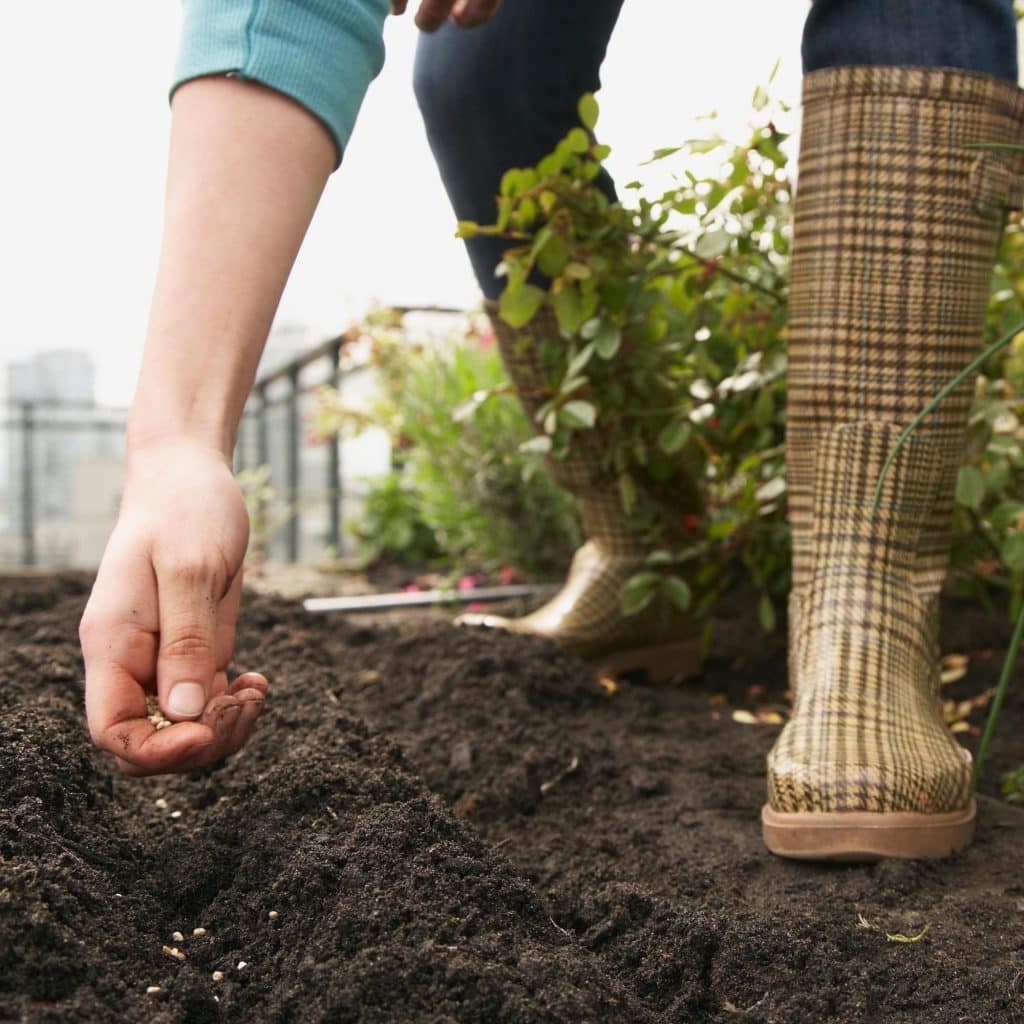
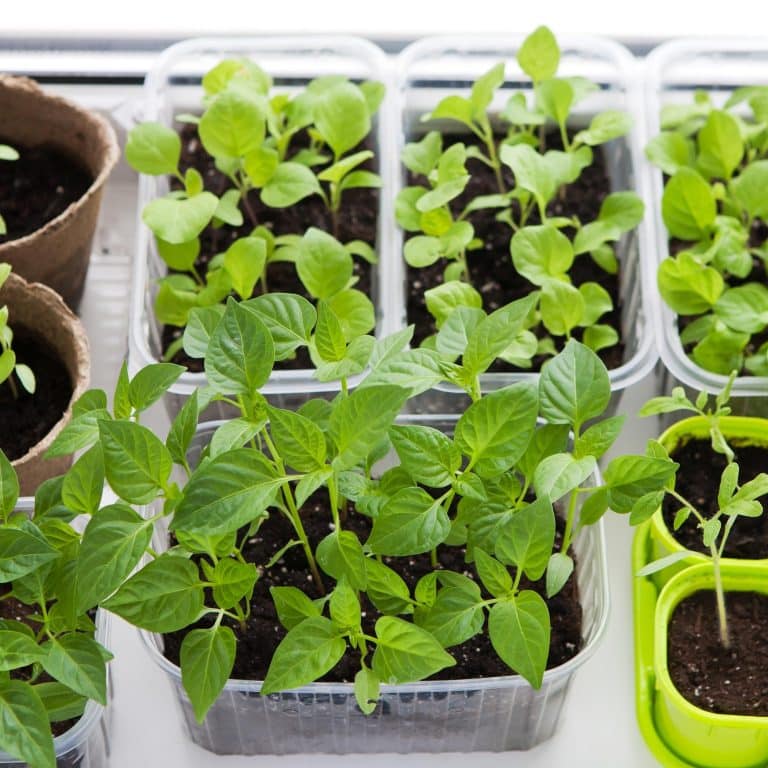
3. Plant the seeds
Now it’s time to plant the seeds! You can plant the seeds directly into the soil or you can start them off in seedlings trays first and then transplant them later. If you are planting the seeds directly into the soil, make sure to plant them about ¼ inch deep and 2 inches apart. Once you have planted the seeds, water them lightly so that the soil is moist but not drenched.
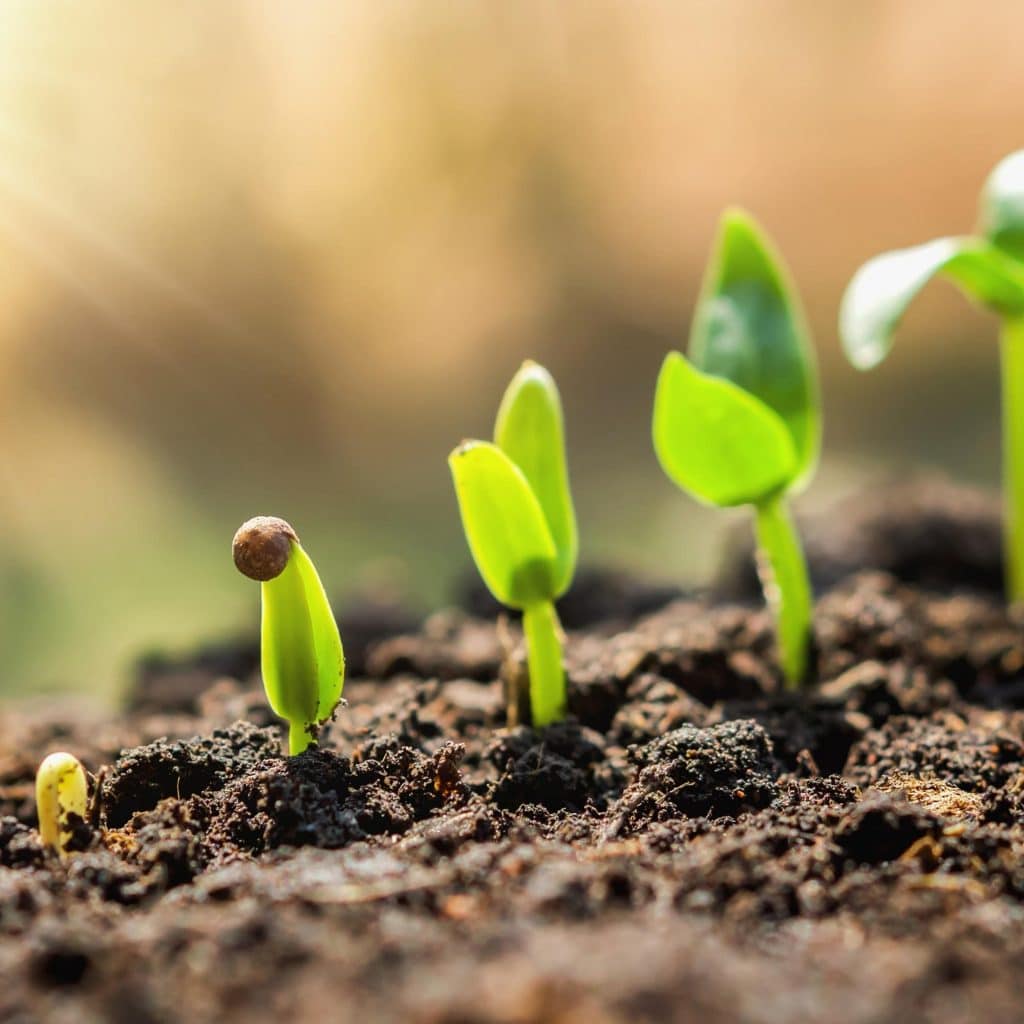
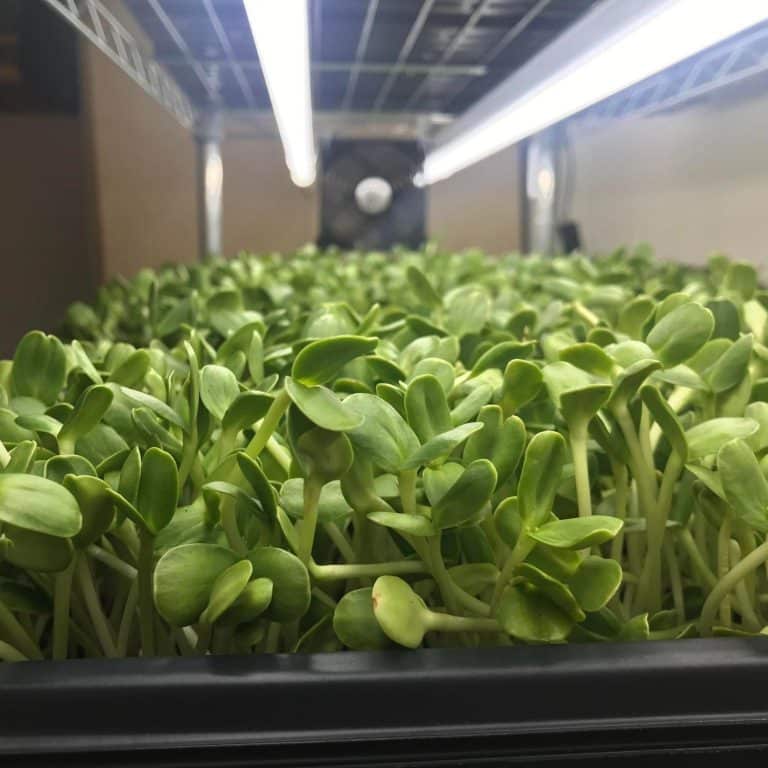
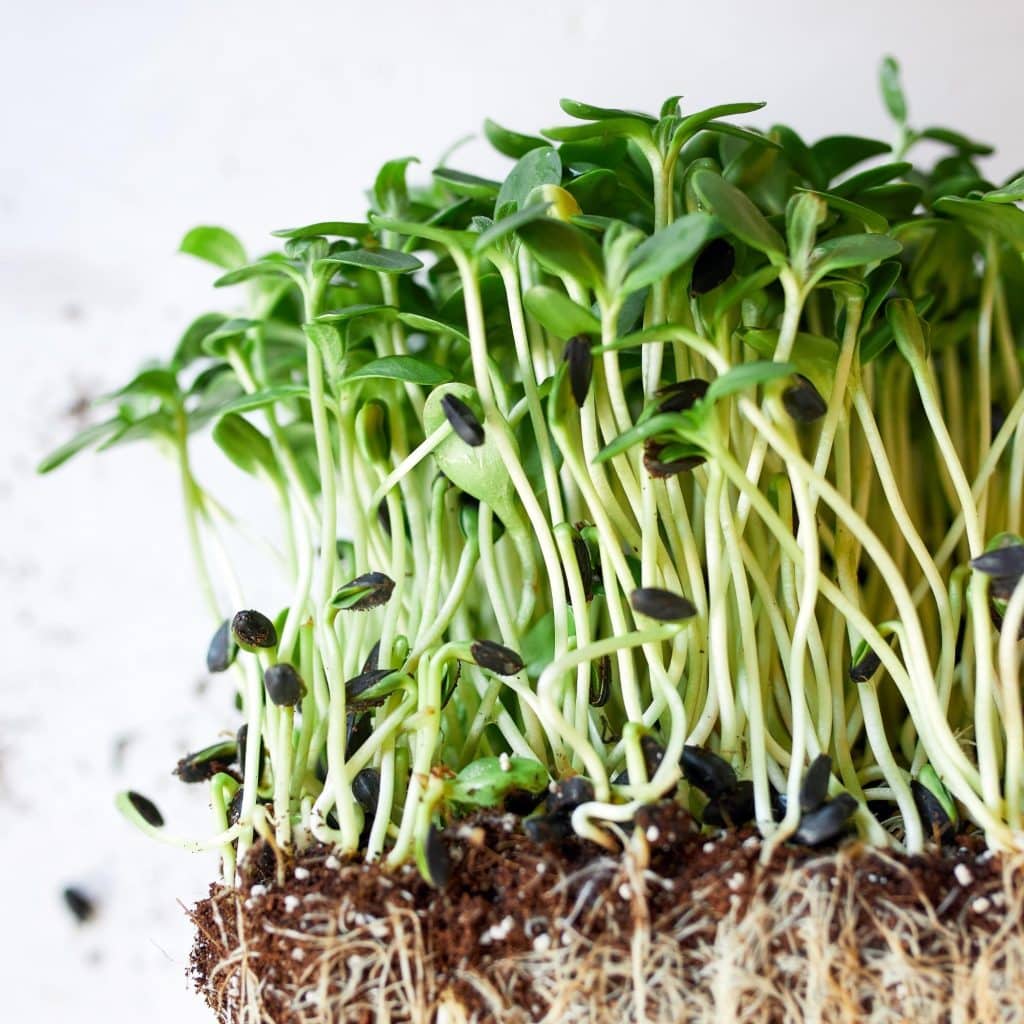
4. Watch for signs of growth
Now all you have to do is sit back and wait for your microgreens to grow! Depending on the type of microgreen you are growing, they should start sprouting within 7-14 days. Once they have sprouted, make sure to keep an eye on them and water them regularly so that the soil stays moist but not waterlogged.
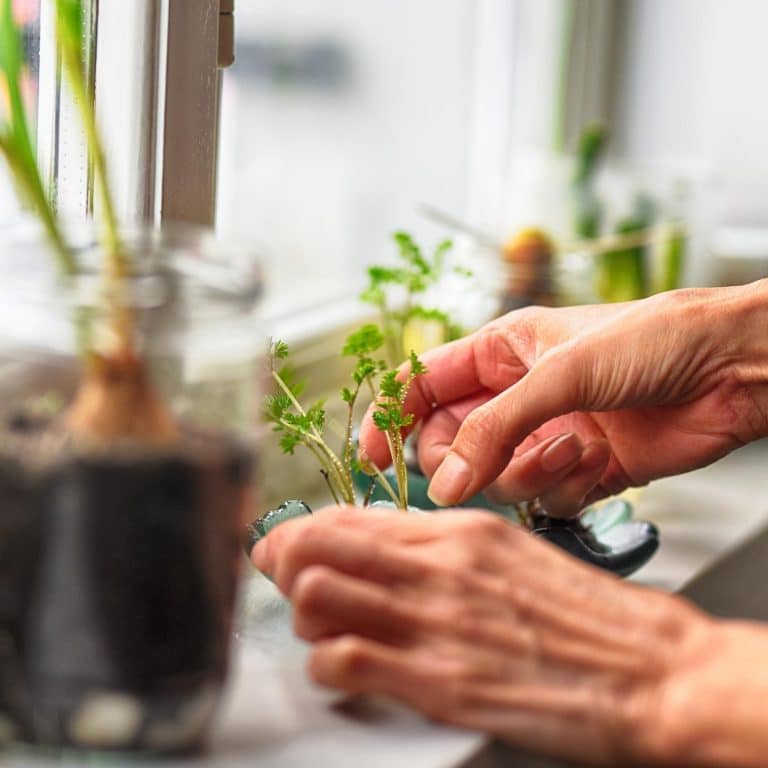
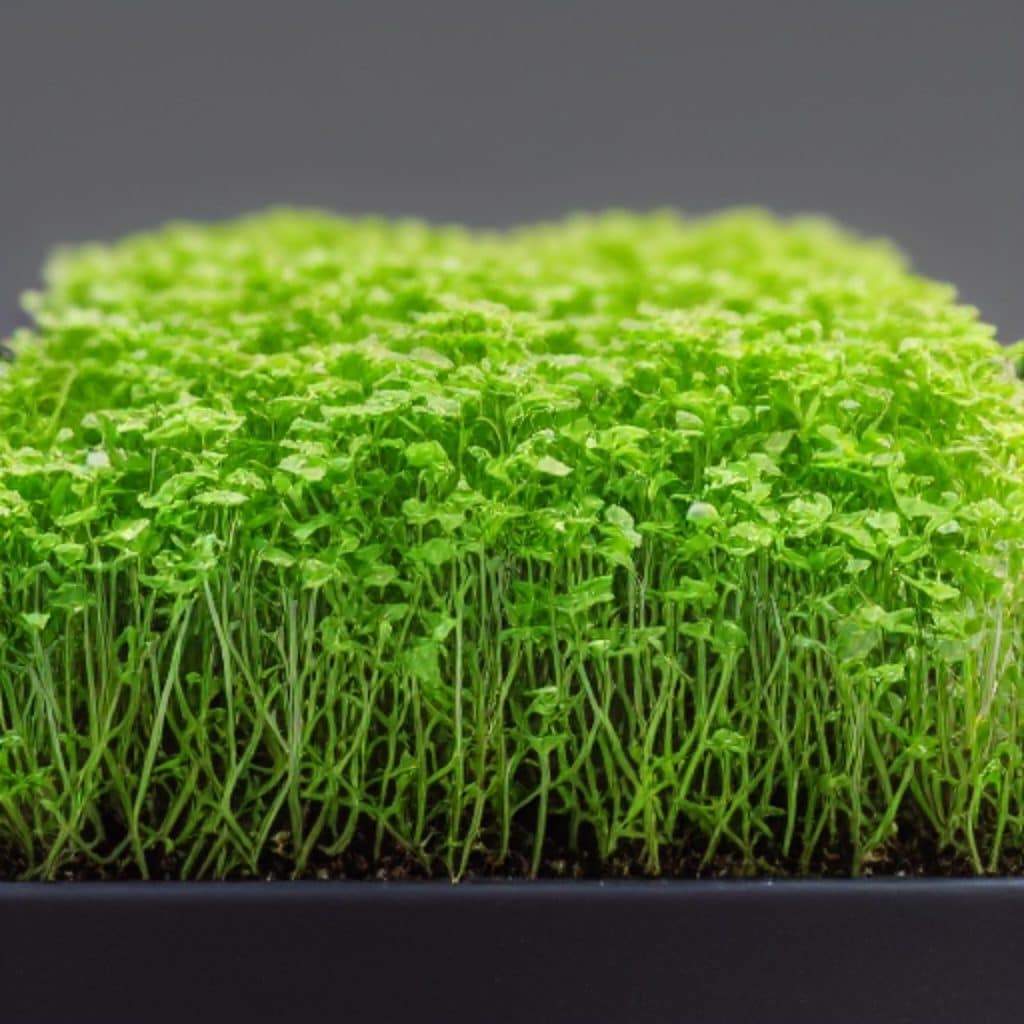
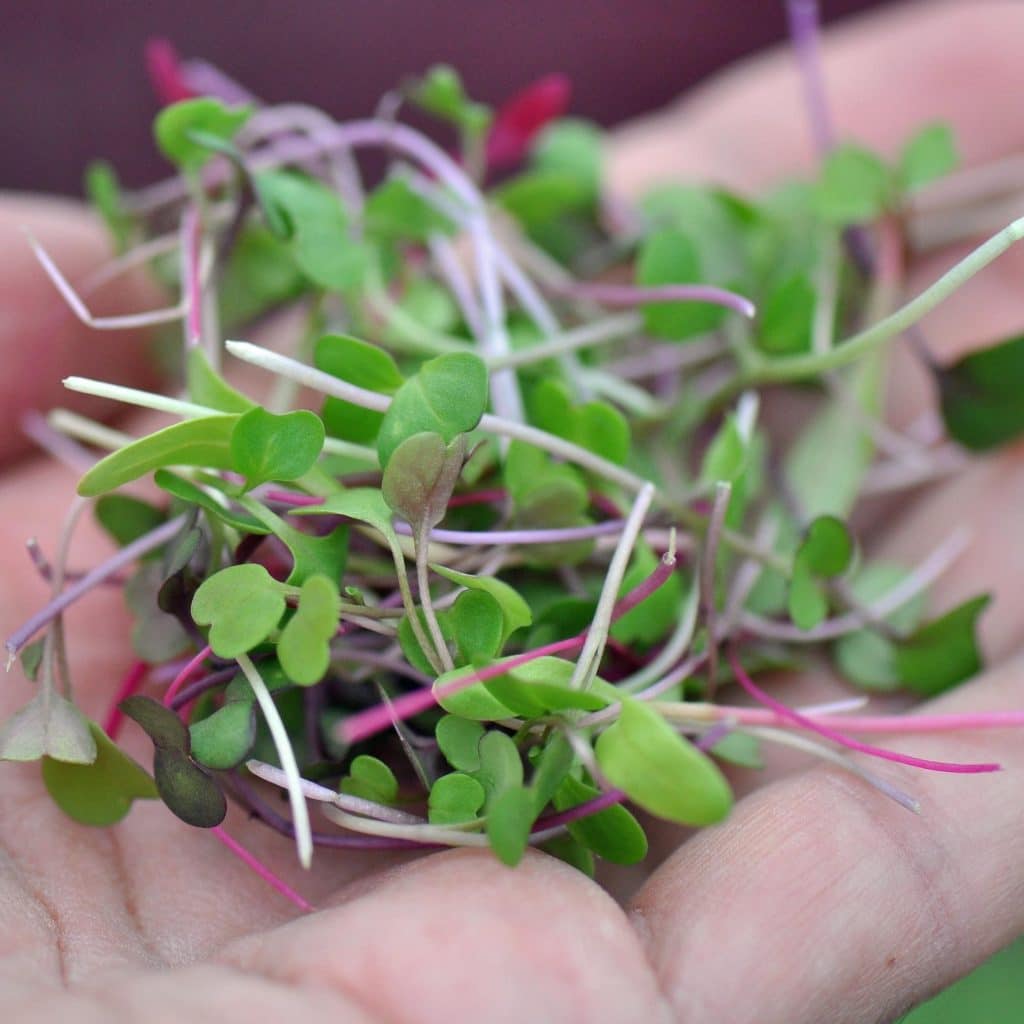
5. Harvest time!
After about 2-3 weeks, your microgreens will be ready to harvest! Use sharp scissors or a knife to cut the greens at their base, making sure not to damage the roots. Once you have harvested your microgreens, enjoy them fresh or store them in a plastic bag in the fridge for later use.
Growing microgreens outdoors is a great way to add some extra flavor (and nutrition!) to your dishes without having to go to the store every time you want to use them. With just a few simple tips, you can successfully grow microgreens outdoors and enjoy them all season long!