DIY Microgreens Setup: Vertical Farming At Home
Maybe you have tried growing microgreens at home with a microgreens kit and you’ve decided that you want to increase the amount you grow. Or perhaps you’ve been doing your research and are just ready to dive in head first and just start growing a lot. I’ve got you covered because in this blog we’ll discuss vertical farming at home with this DIY microgreen setup that can be placed essentially anywhere in your home.
This info is for folks who want to start growing microgreens at home in a vertical farming system, not necessarily just for people who are looking into creating a microgreens business, however, on a small scale, the setup is essentially the same. So if you do decide to go into business this is a good way to get a “small” DIY microgreens setup that will allow you to expand as your business expands.
What is Vertical Farming?
Vertical farming is a form of agriculture that involves growing plants in vertically stacked layers in a controlled setting. The benefit of vertical farming is that you can produce more crops in a smaller space because you’re not limited to the ground. Plus, you can control the climate, irrigation, and fertilization which leads to increased yields and reduced environmental impact.
What Is Microgreen Farming?
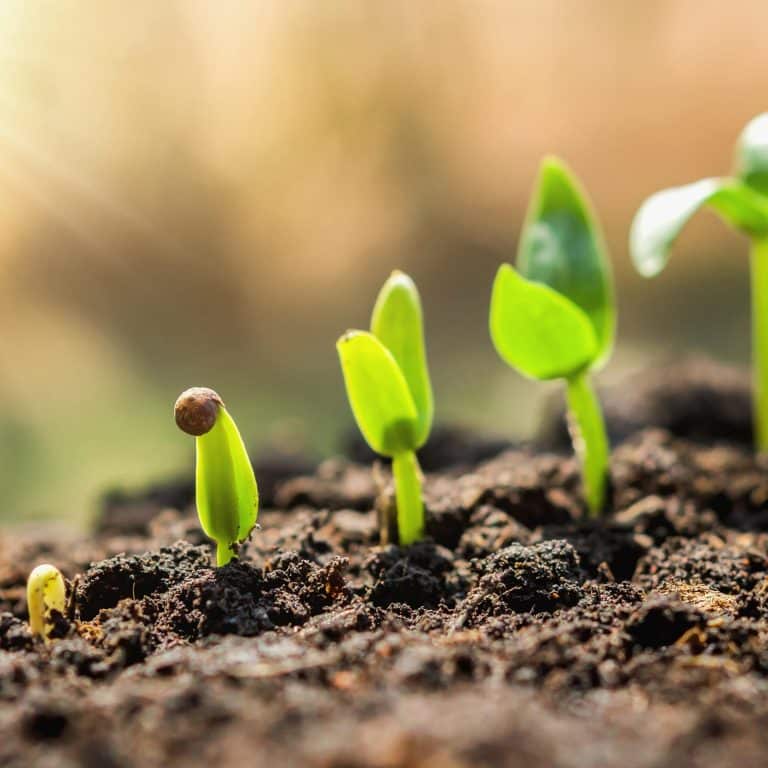
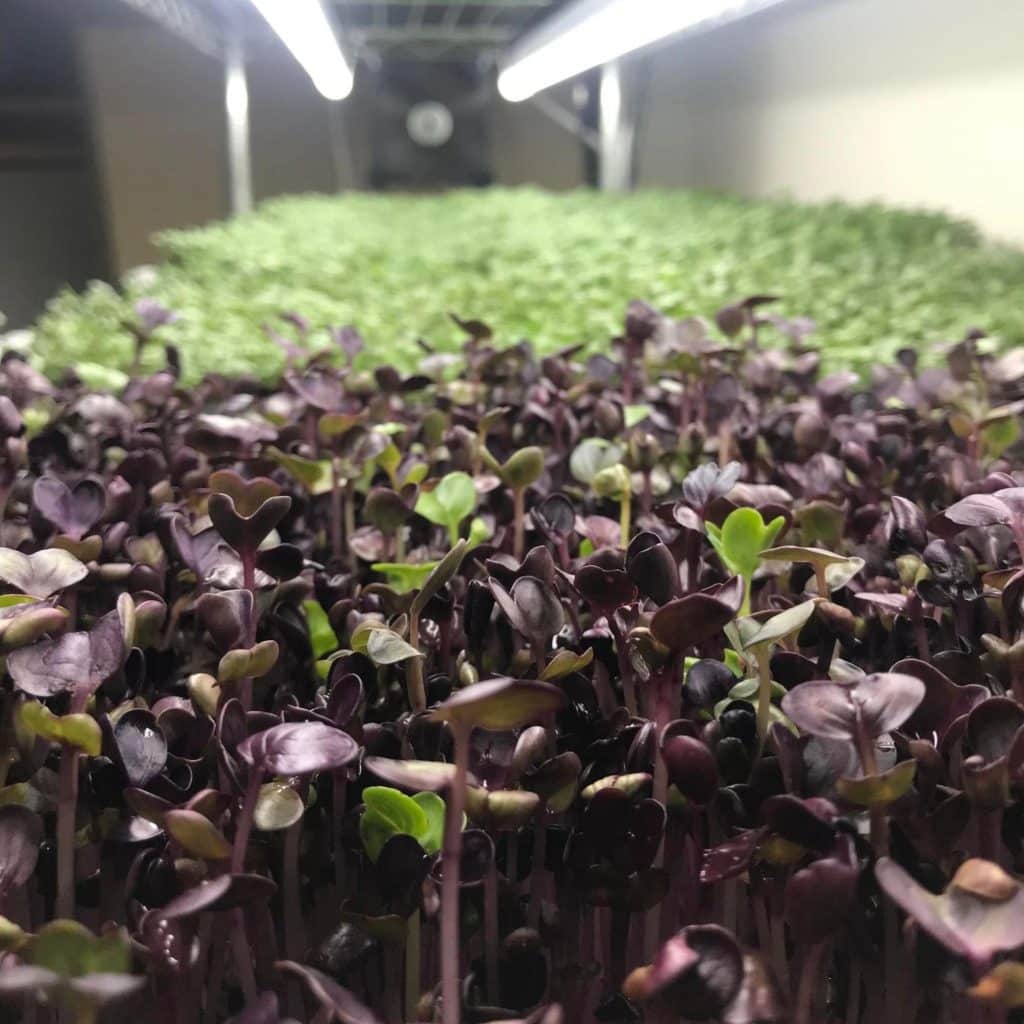
Microgreen farming is a type of agriculture that focuses on the cultivation of tiny greens, typically no more than 2 inches in height. These greens are harvested shortly after they sprout, making them a more nutrient-rich choice than traditional vegetables. Microgreens are high in fiber, antioxidants, and vitamins, and they can be used to add flavor and nutrients to a variety of dishes.
There are many different types of microgreens, each with its own unique flavor and nutritional profile. Some of the most popular varieties include arugula, basil, beets, broccoli, chard, cilantro, dill, kale, kohlrabi, lettuce, mint, peas, radish, and sunflower.
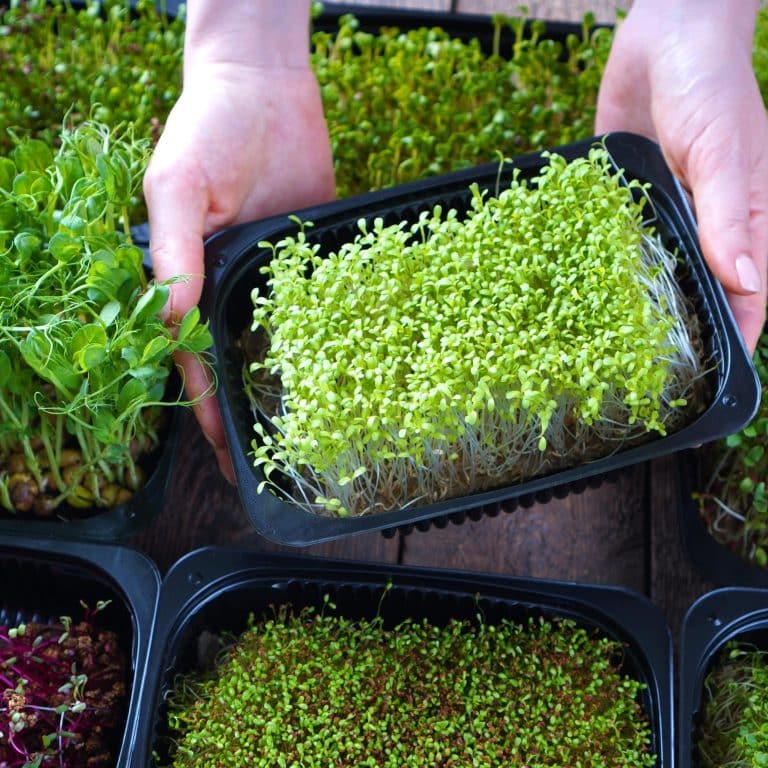
Microgreens are a type of crop that works perfectly in a vertical farming system and that is typically how most people who grow on a larger scale have their microgreens farm set up.
What Supplies Do I Need To Grow Microgreens At Home?
There are a variety of supplies and systems that you can get to get started growing microgreens at home. Hydroponic (in water) and soil-based are the two main ways to grow microgreens. I do an in-between method but the setup is the same as the soil-based method. So I will go over what I would consider basic supplies needed for successfully growing microgreens at home in soil (or coco coir).
Hydroponic systems are more expensive than other methods of growing microgreens, but they have some advantages: they’re easier to manage, they’re less likely to harbor pests and diseases, and they are less messy. If hydroponic growing does sound right for you, then check out my friends over at City-Hydro. They have a top-quality hydroponic system and offer classes with every purchase of their system.
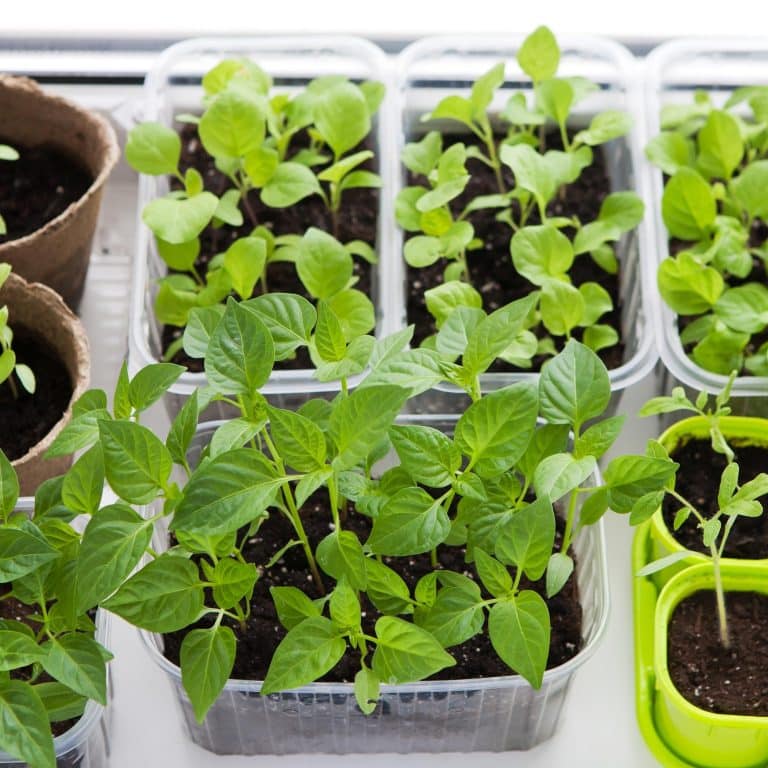
Microgreen Seeds
Obviously, you can’t grow microgreens without seeds. Now technically anything (except nightshades) can be grown as a microgreen, however, you don’t just want to buy a giant back of bird feeder sunflower seeds and start growing those. When purchasing seeds to grow as microgreens, it’s important to make sure they are labeled for microgreens (or for sprouting works as well). This is because microgreen seeds go through extra testing that normal garden seeds don’t go through. Since the time from seed to harvest is so much shorter with microgreens, the seeds must be tested for their germination rate and any potential pathogens.
The microgreen seeds you start with are up to you. I have a list of recommended microgreen seeds here.
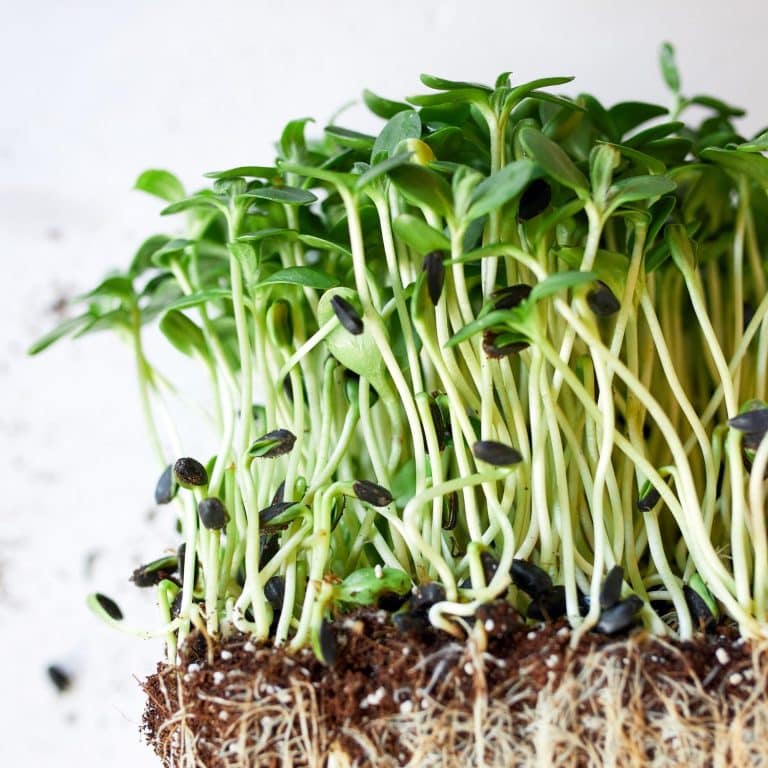
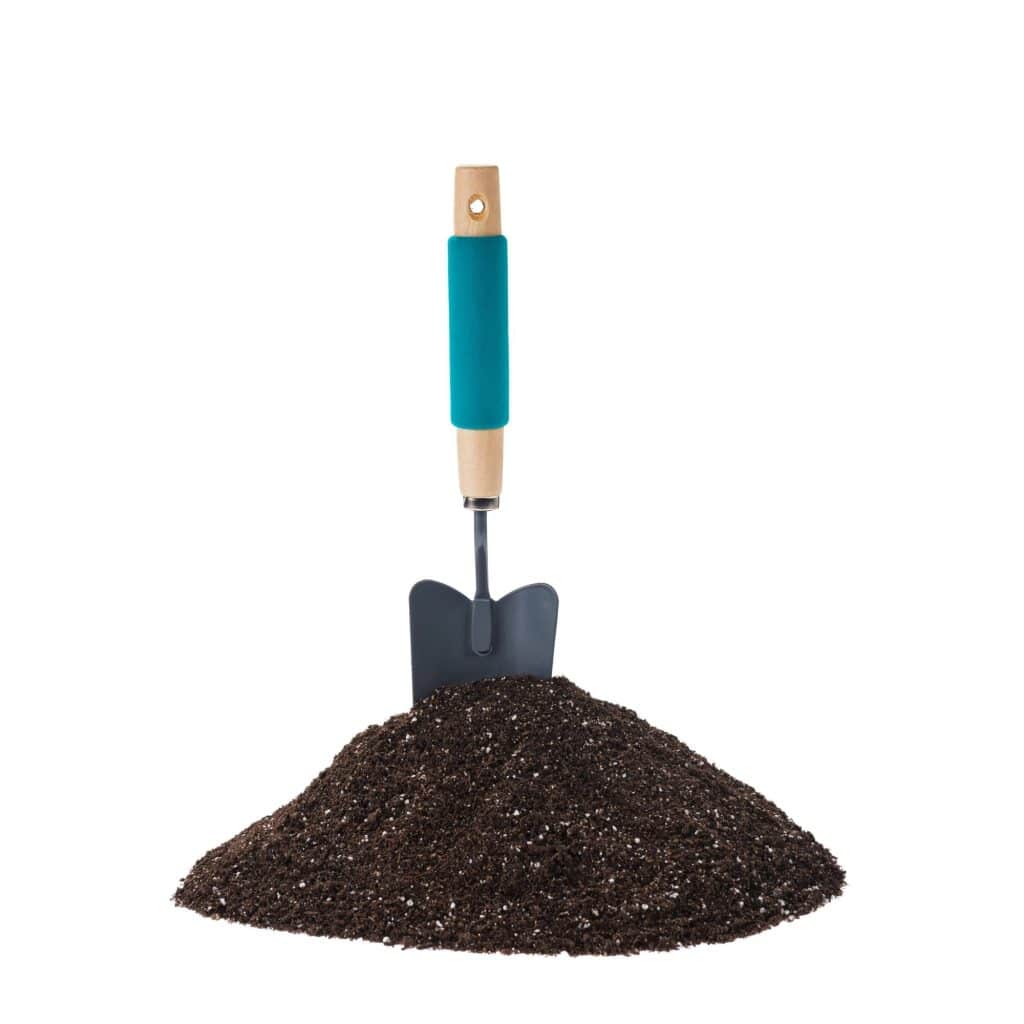
Best Growing Medium For Microgreens
There are a few different growing medium options. You can use potting mix, coco coir, and hydroponic mats. Since we’re not working on a hydroponic setup, we’ll discuss potting mix and coco coir.
Potting mix
Most people are familiar with potting soil mix. There are so many different types, however, a basic potting soil mix works great for growing microgreens. Do not use garden soil for growing microgreens – it is too dense and can lead to waterlogging and problems with drainage.
Coco Coir
Coco coir is a natural growing medium made from the fibrous outer shell of coconuts. Using coco coir is considered growing hydroponically. However, I see it as a between soil and hydroponic growing. It is great for gardening because it is lightweight, absorbent, and helps to regulate moisture levels. Coco coir is also a good choice for organic gardening, as it is made from a sustainable resource. This is what I use in my microgreens vertical farm.
Water
The quality of water you use to water your microgreens is very important. You want to make sure you are using filtered water, as it will be free of any contaminants that could harm your plants. Municipal water can often have high levels of chlorine and other chemicals that can be harmful to plants. Using filtered water will help to ensure that your microgreens get the best possible start and grow healthy and strong.
With that being said, if I forget to refill my filtered water, I have used my regular tap water. I just wouldn’t recommend doing that all the time. But feel free to experiment. The quality of your tap water can depend on where you live as well.
Fertilizer
Do microgreens need fertilizer? That is a much-debated topic in microgreens groups. In fact, a very popular Youtube channel called On The Grow has a whole playlist dedicated to experiments with different growing mediums and fertilizers.
Some people don’t use any fertilizer because their potting mix has nutrients in it. Others don’t use fertilizers because the seeds themselves have all the nutrients needed for the plant’s first month of life.
Others use a liquid fertilizer mixed with water and they use that to water their microgreens instead of regular water. This is what I do. I decided to do it this way because I also use coco coir as my growing medium which inherently doesn’t have any nutrients in it.
I use a liquid fertilizer called Ocean Solution which actually was recommended by the folks at On The Grow. I like this fertilizer because it’s very concentrated so I can use very little at a time. I mix about 2 ounces in my 5-gallon bucket of water. It can also be used in your regular outdoor garden as well, so it has multiple uses.
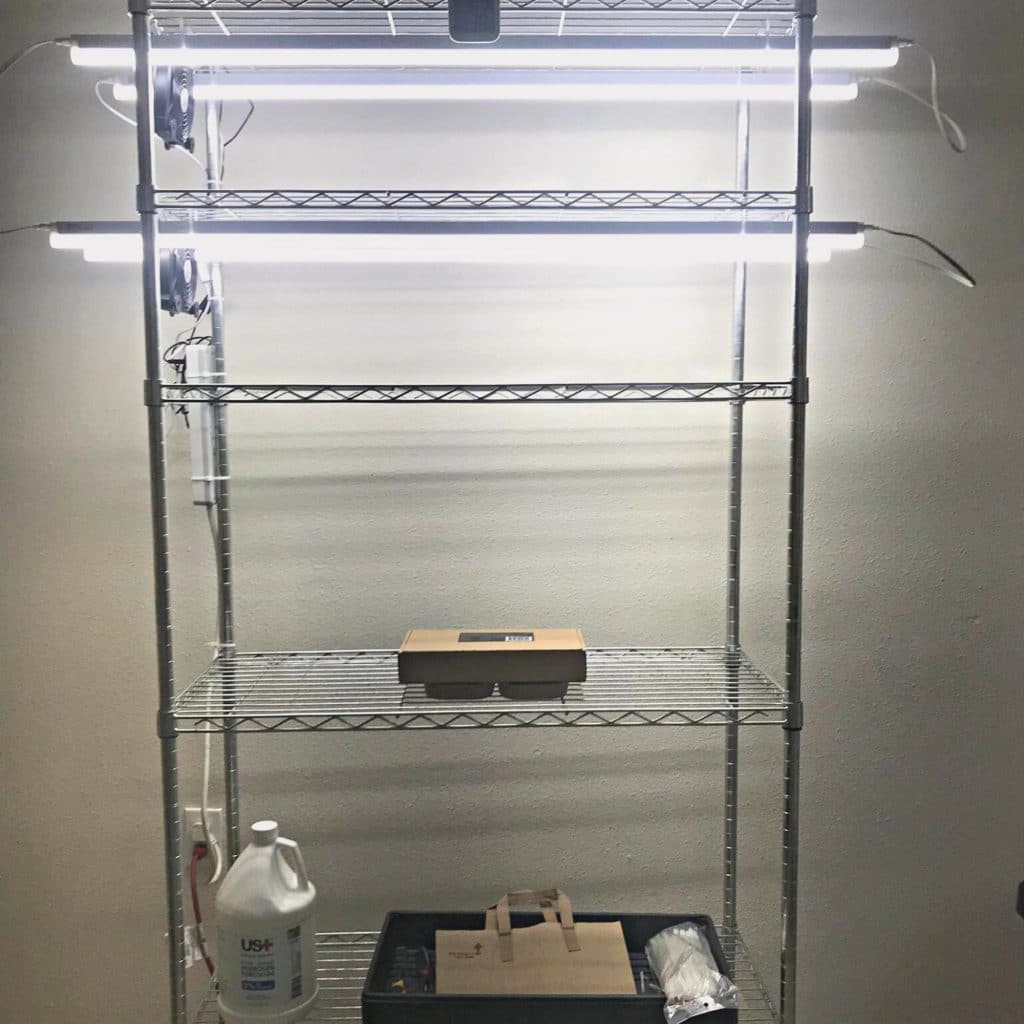
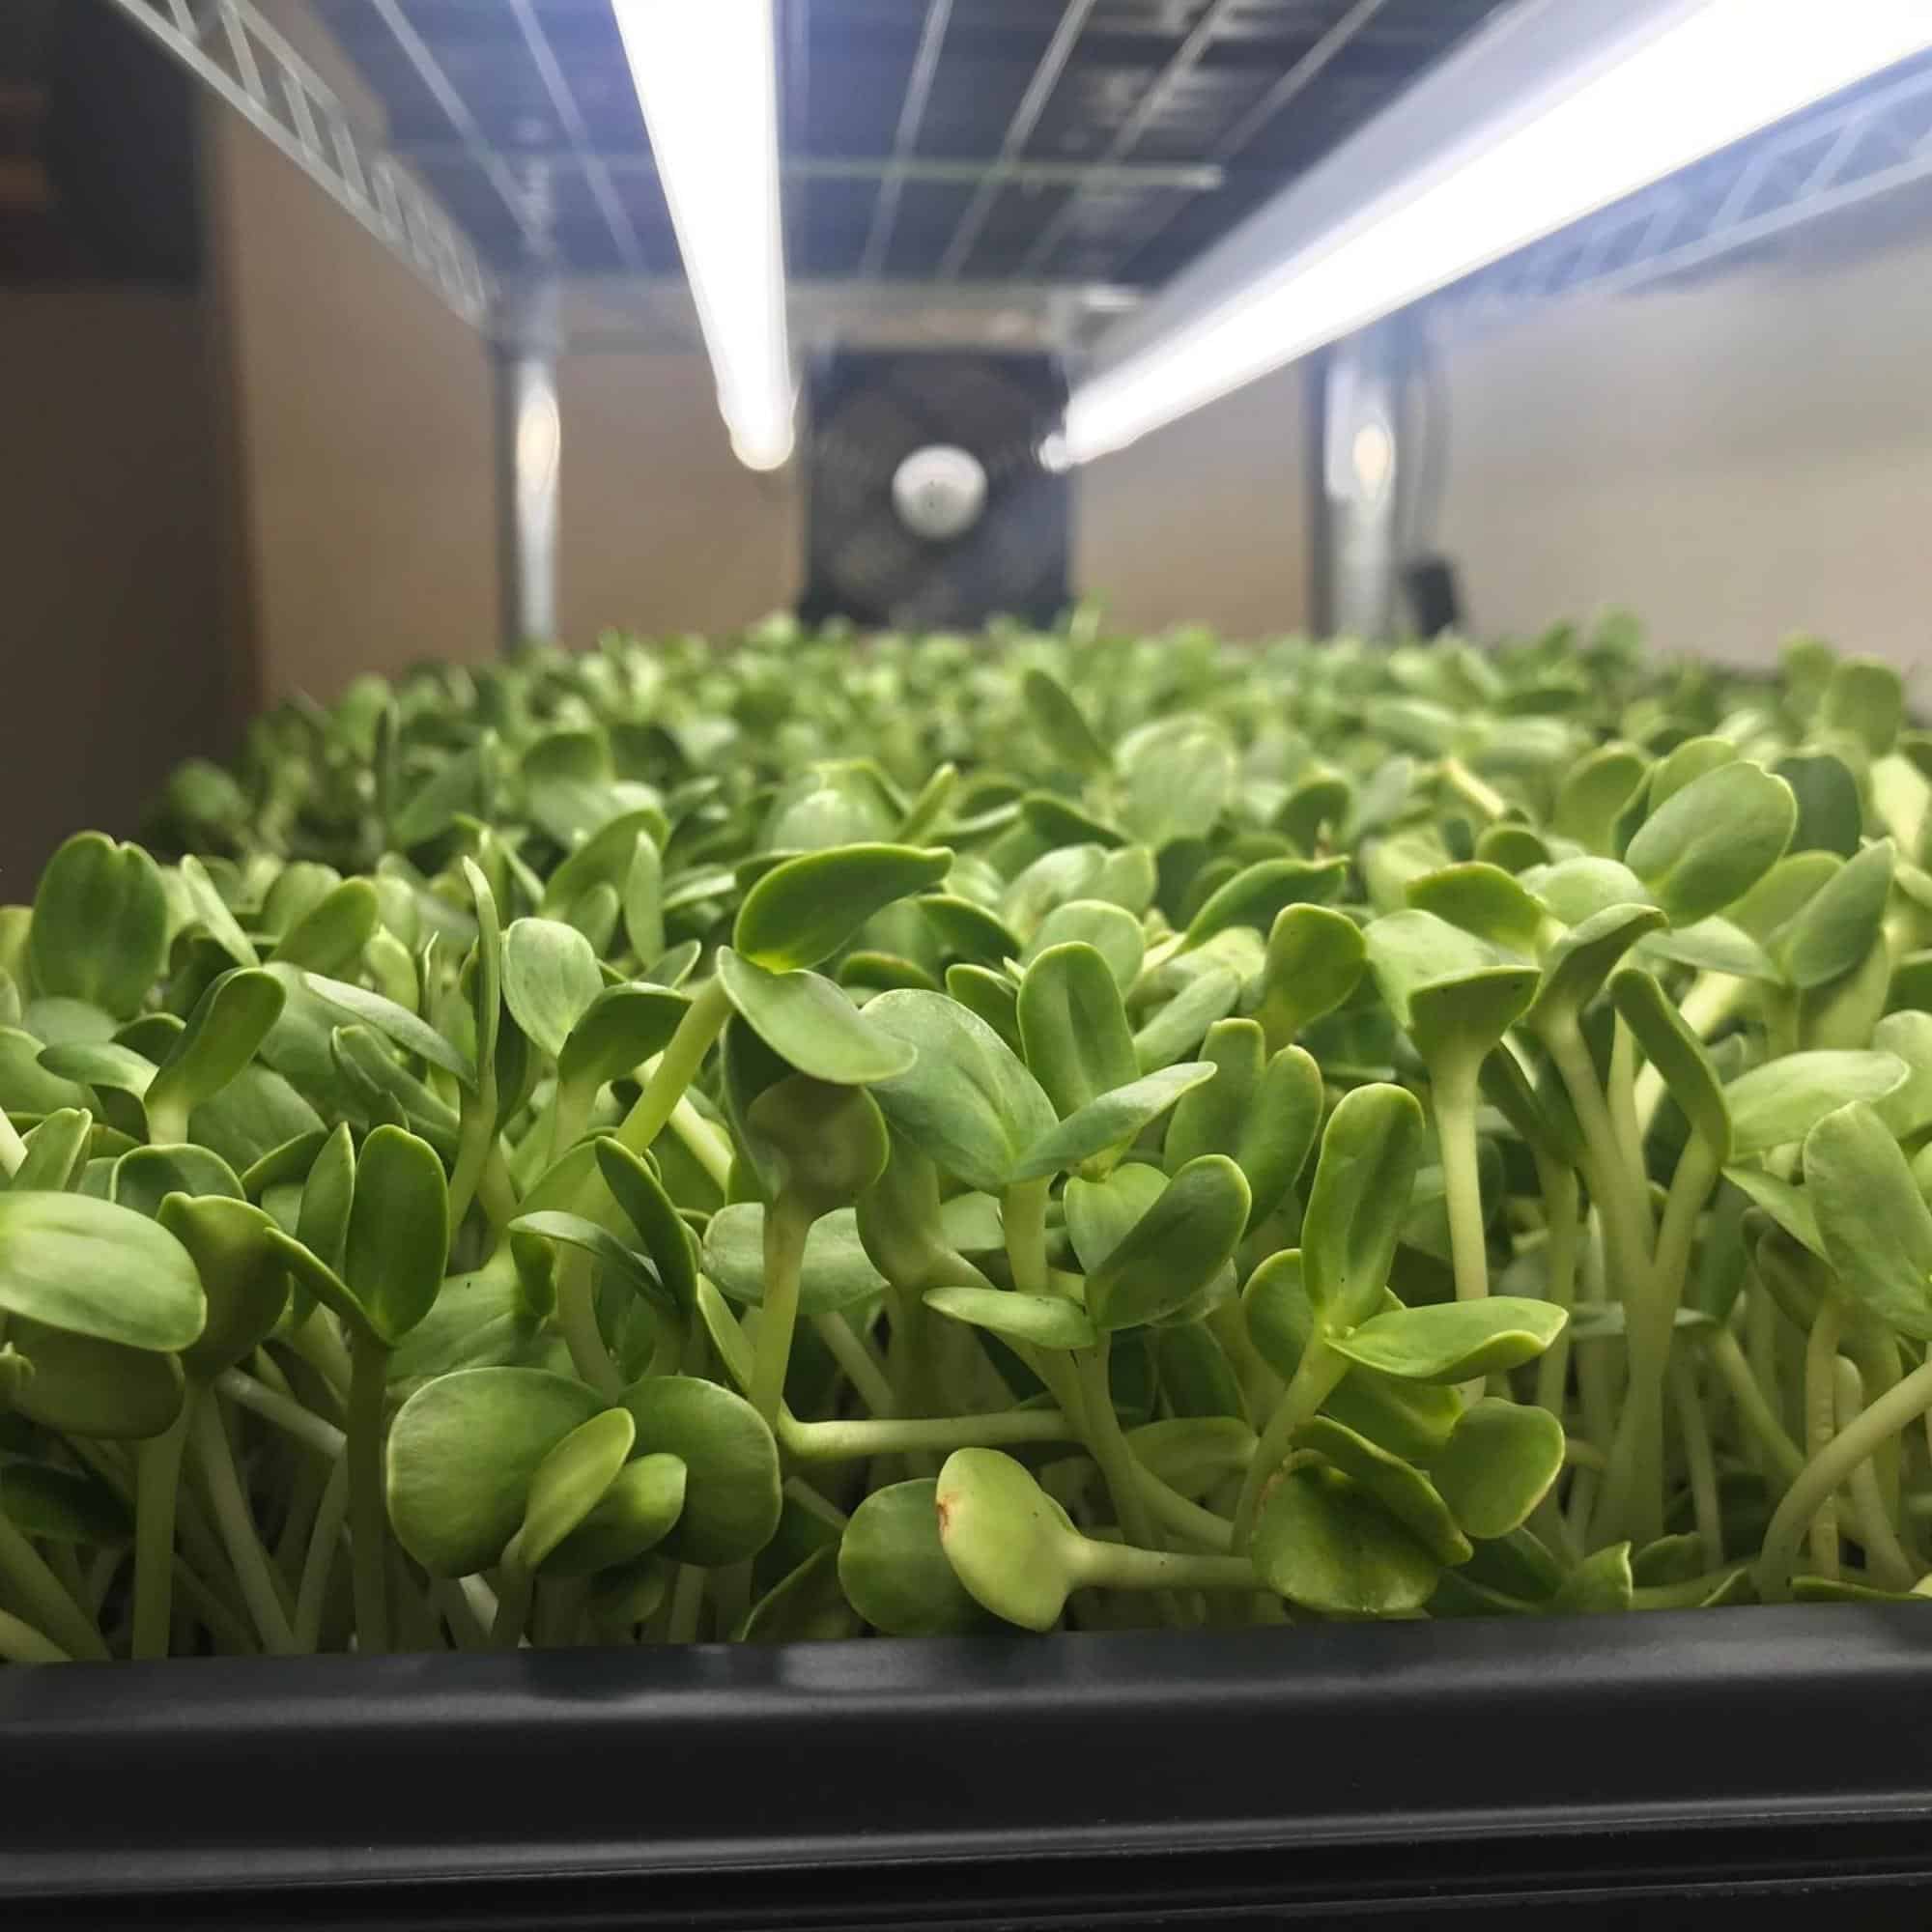
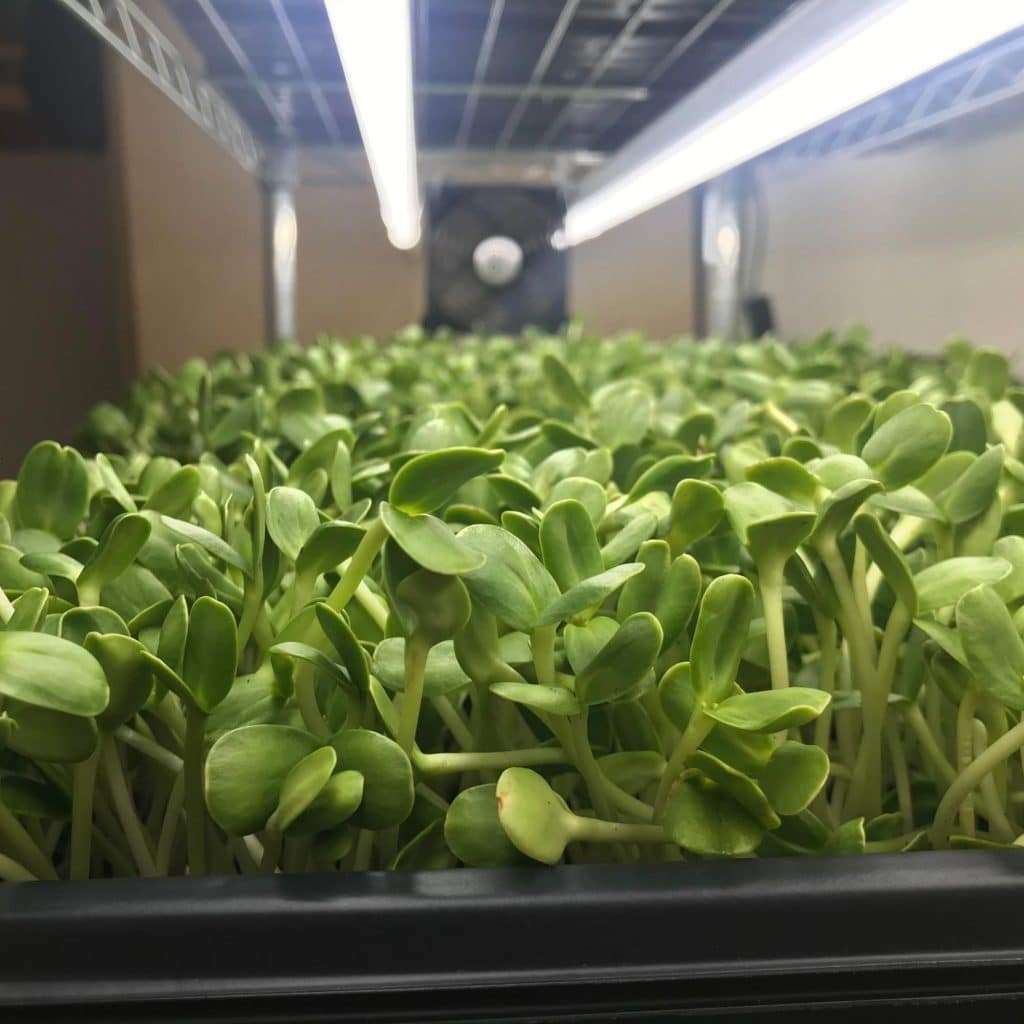
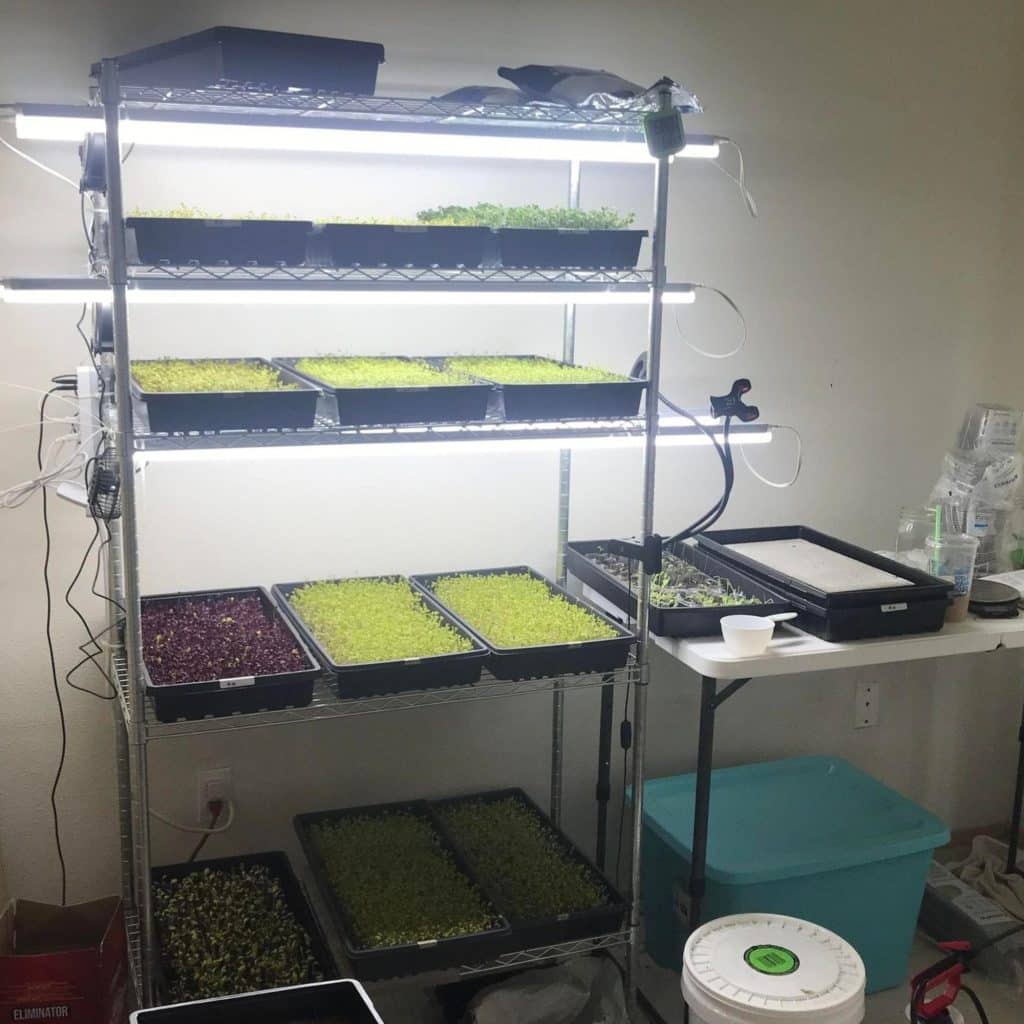
Microgreens Shelves: The Rack System
You’ll want to figure out how much space you wish to dedicate to your vertical farm. The benefit of vertical farming is that it doesn’t take up much floor space. The common DIY microgreens setup is with a heavy-duty metal storage rack. It’s recommended to get a 6-shelf system that is 48 inches wide and 18 inches deep. This is because this width will allow you to have 4 trays per shelf. This gives you the potential to grow a total of 20 trays on one rack system.
But in the DIY and budget-friendly spirit, use what you have on hand. When I started I didn’t have this 6-shelf Rack system. Instead, I was using a similar but smaller version that was only 5 shelves and only 36 inches wide. This meant I could only get 3 trays per shelf and at most grow 12 trays. However, for starting, or for growing for just your family this amount is great. So look around your house and perhaps you have a storage rack that isn’t being fully utilized.
Ideally, when setting up your rack system, you want to space your shelves about 10-11 inches apart. If you do this, you can even purchase an additional shelf to add to your rack. Microgreens typically get harvested at about 2-3 inches tall so this shelf spacing works perfectly.
Lights
Unless you are planning on growing small scale just on your windowsill (but that’s not why you’re here), you’ll need to have grow lights. There are so many different types of grow lights out there with bulbs all over the light spectrum. This is another topic that On The Grow covers extensively. There are even some microgreens that grow better under certain lights than others.
However, I like to keep things simple, and inexpensive when I can. The lights I use are simple 22-watt shop lights. Shop lights are typically about 48 inches long, so they fit perfectly in this DIY microgreens setup. It’s best to place 2 to 3 lights per shelf so that the trays can get light evenly. Even lighting will help prevent the microgreens from growing sideways and help them to grow up straight.
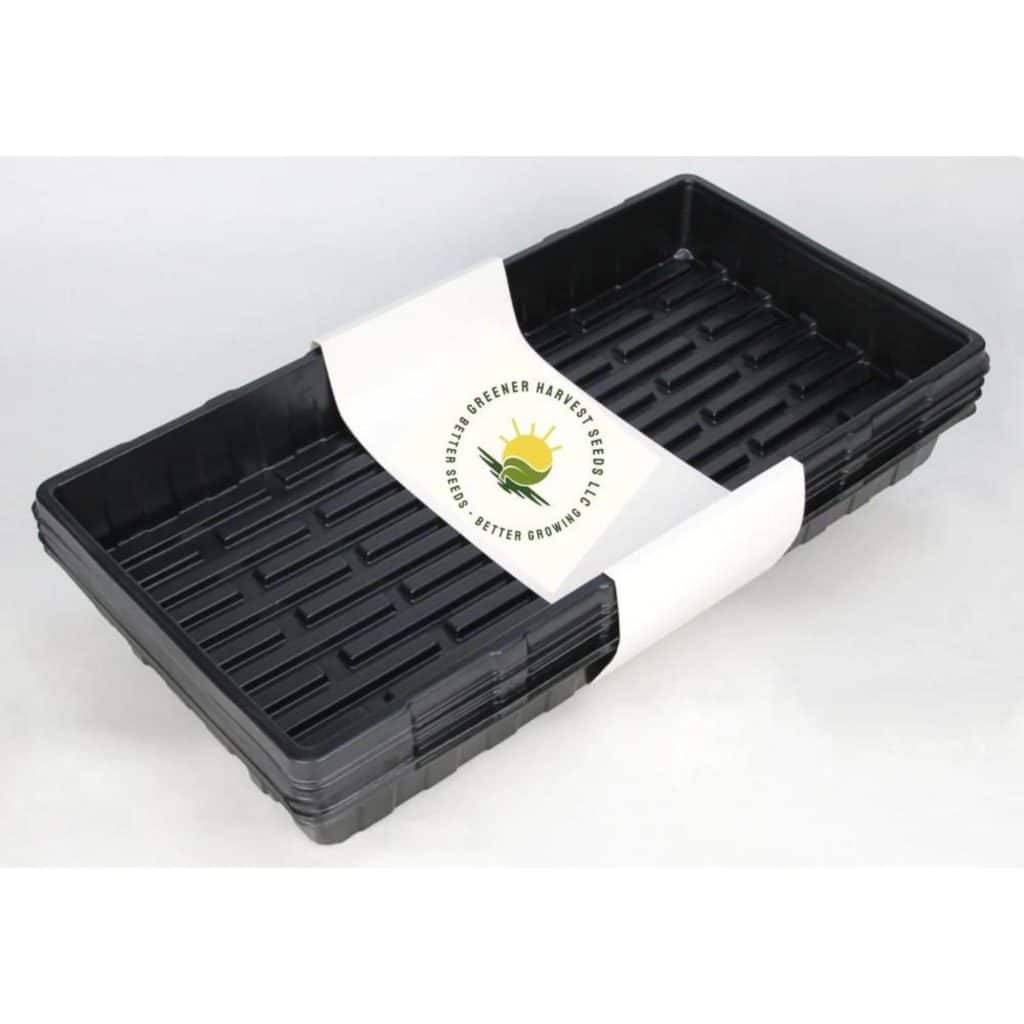
Best Microgreens Trays
You could get creative with what you already have in your home. Isn’t the epitome of DIY? But there is a typical container that most microgreens growers use. This is the 10×20 plastic tray.
Bootstrap Farmer Trays
The high-quality option is Bootstrap Farmer trays. These are made of very thick, high-quality plastic. They are made in the US and have a limited 2-year warranty on them! They are the new high standard for serious growers. Depending on your budget you may want to go with this option. In the long run, you’ll have to purchase less which will save money.
Budget-Friendly Trays
A budget-friendly option is a tray that isn’t a high-quality plastic like the Bootstrap trays are. These trays are going to be more of a standard plastic that if not treated carefully can break or crack easily. However, if you are first getting started and are working on a budget to create your DIY microgreens setup, then basic trays work fine.
My favorite basic trays are from Greener Harvest Seeds. I originally found trays on Amazon, but then when I found Greener Harvest Seeds I realized that their trays were less expensive and better quality than the Amazon trays. Still not top-quality premium trays like Bootstrap, but being on a budget they worked great for me.
Temperature and Humidity Control
Temperature and humidity control is super important when growing microgreens, especially on the rack system where you could have multiple trays growing at once. When growing multiple trays you’ll start to notice that the temperature can start to increase. And because you need to water your microgreens you’ll start to notice your humidity increasing as well.
High temperatures can cause stress on the microgreens. Cold temperatures can cause the microgreens to not grow as fast. High humidity can make your microgreens sad. They’ll start to droop and will literally look like they’re sad. Low humidity can cause your soil to dry out too fast which can cause your microgreens to fall down. Also sad looking, but a different sad.
The Ideal temperature range is 70 to 75 degrees (about 21 to 24 Celcius) with a humidity level of 45% to 55%. Of course, these recommendations are general recommendations. These are typical ranges that most have found to work well, however that’s not to say that if your house is always at 78 degrees you won’t be able to grow microgreens. Not at all! It will take some trial and error, but I believe with some testing and tweaking, you can grow microgreens almost no matter what.
Humidity Gauge:
A humidity gauge will help you determine where your grow space is at. Even better, they are a very inexpensive tool and super easy to find. You can go to your local hardware store and purchase one. I decided just to add it to my cart on Amazon since I was already shopping. I purchased the 2 pack so if one dies I’ll have a backup.
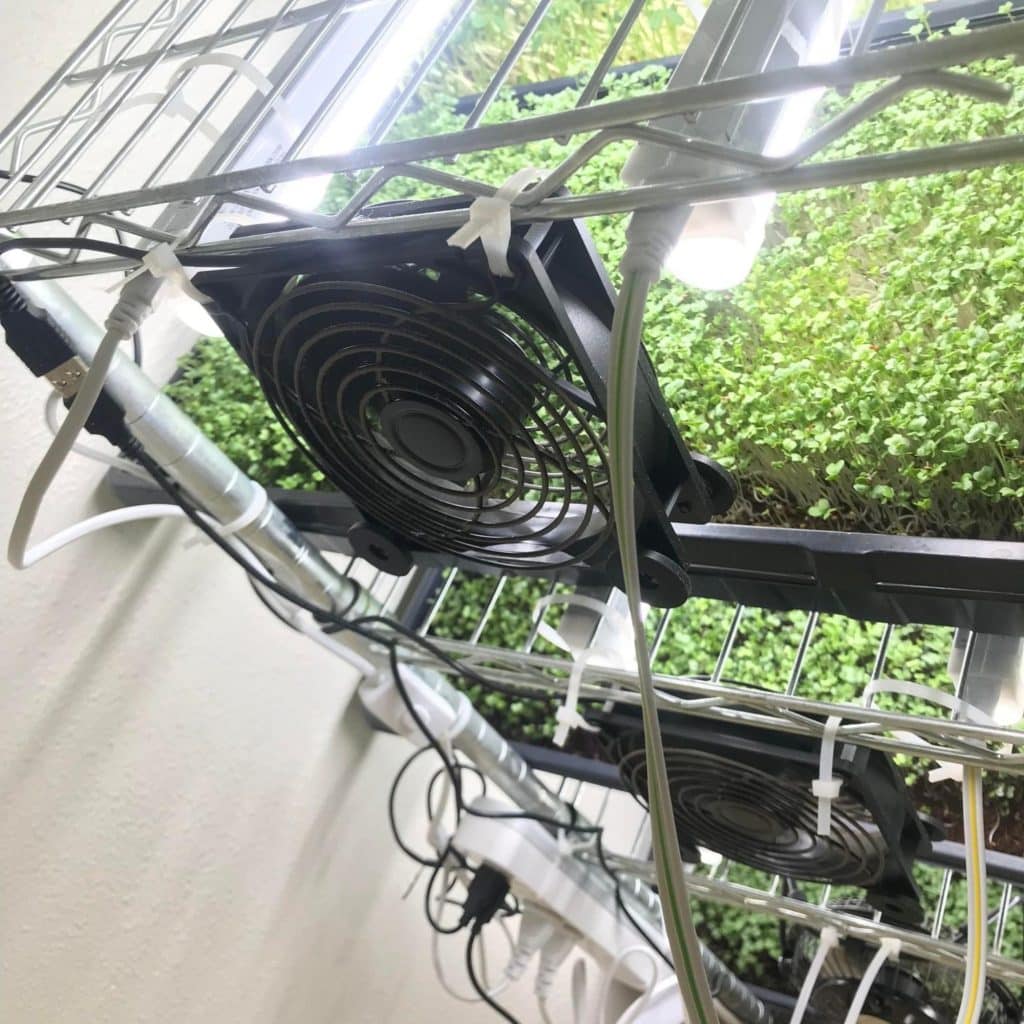
Fans
Fans are essential for air circulation and also can help to remedy some small temperature issues. Fans are another one of those items that are a standard with microgreens growers. It’s recommended to have 1 to 2 fans per shelf.
Most people use USB Computer Fans because they are small, quiet, and often can be chained together to help outlet space. However, don’t overlook your local stores. I have also found $5 USB fans at my local Walmart in the hardware section.
Dehumidifier
A dehumidifier is an electrical appliance that helps to remove moisture from the air. This is beneficial in a grow room because it will help to bring the humidity level down, which is important for keeping the soil healthy and preventing your microgreens from drooping.
There are all sorts of dehumidifiers on the market, with a range in sizes, prices, and abilities. When purchasing a dehumidifier it’s important to consider what you’re looking for. Do you need a large one to cover a large area? Or do you need a small one for a specific space? Are you looking for something that’s quiet or does it not matter? What’s your price range?
Once you’ve answered these questions you can start to look at specific dehumidifiers. There are lots of options out there and it can be overwhelming, but narrowing down what you need will help make the process easier.
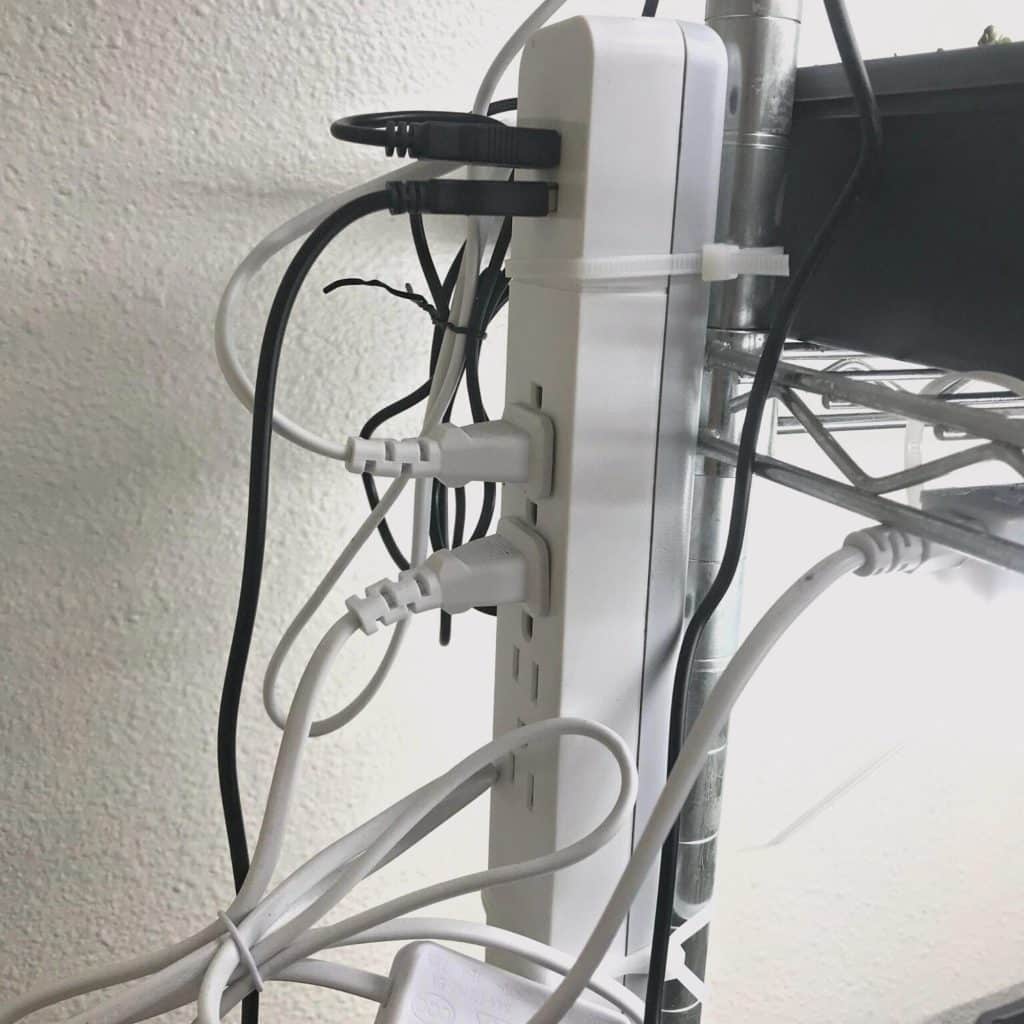
Power Strip
A power strip is needed because you’ll need to plug in your lights and your fans. The best option is a power strip with USB plugs on it along with regular plugs. Amazon has a great basic power strip that will fit your needs. But don’t forget to check your local stores. You might find a better deal or double-check around your house! You may have one already that you’re not using for anything else.
Zip-Ties
Zip-ties are perfect for getting all the things in place and secured onto your metal rack. You can use something else to keep things in place like velcro if you’d prefer, however I like the security of the zip-ties. I use zip-ties to keep my lights, fans, and power strip in place. I also use them to help me keep my cords secure against my rack instead of just hanging around.
Food Grade Hydrogen Peroxide
3% food-grade hydrogen peroxide is used in all sorts of ways when it comes to growing microgreens. It is often diluted down with water. It can be used to sanitize your trays, for soaking your microgreen seeds that need soaked, and it can be used to stop mold from growing.
A good diluting formula is 10 to 1. 10 parts water to 1 part hydrogen peroxide. This helps prevent you from burning your microgreens but still allows the hydrogen peroxide to work its anti-fungal magic and keep your microgreens mold-free. Pro tip: Diluted hydrogen peroxide can be used on any house plant or indoor garden. Hydrogen peroxide is also an EPA-approved pesticide.
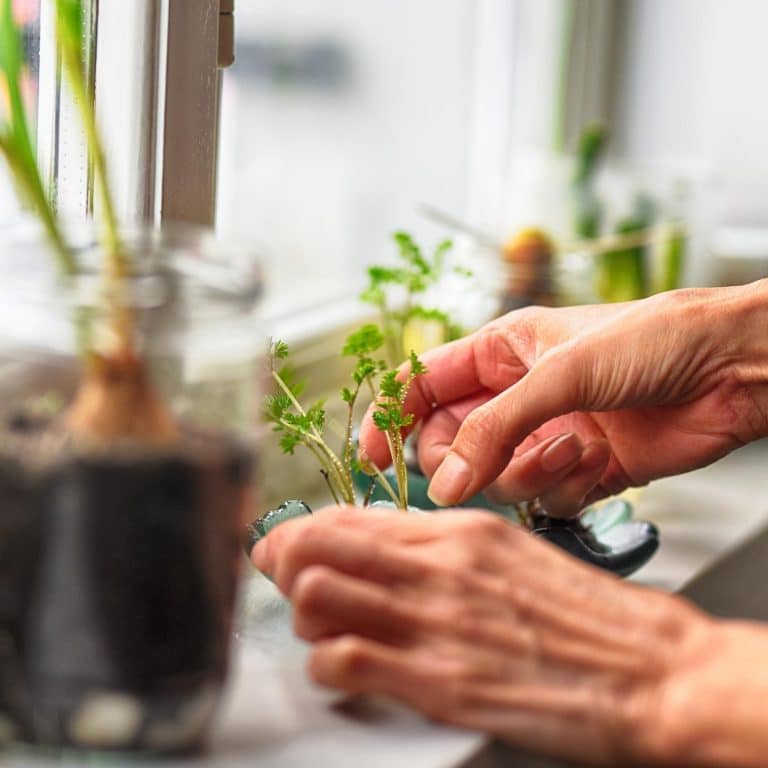
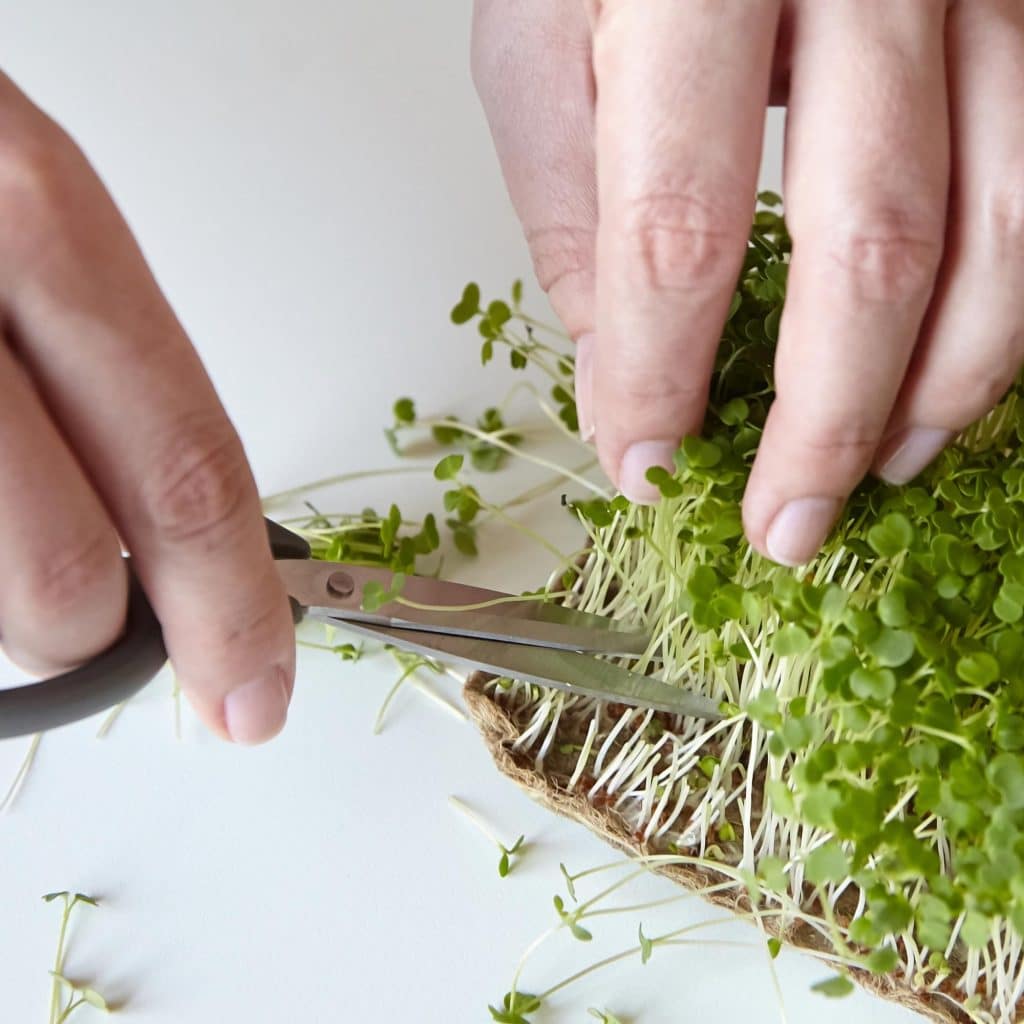
Scissors or a Knife For Harvesting
Once your microgreens have sprouted and grown to 2-3 inches tall it’s time to harvest. You can harvest using a sharp pair of scissors, a sharp knife, or even a utility knife. This is completely up to you. However, you do want to make sure whatever you choose is SHARP. If your harvesting tool is not sharp enough then you can bruise your microgreens while harvesting making them not last as long.
A very popular tool for harvesting is a culinary produce knife. It’s long which allows you to harvest more microgreens at a time, and it’s also very sharp.
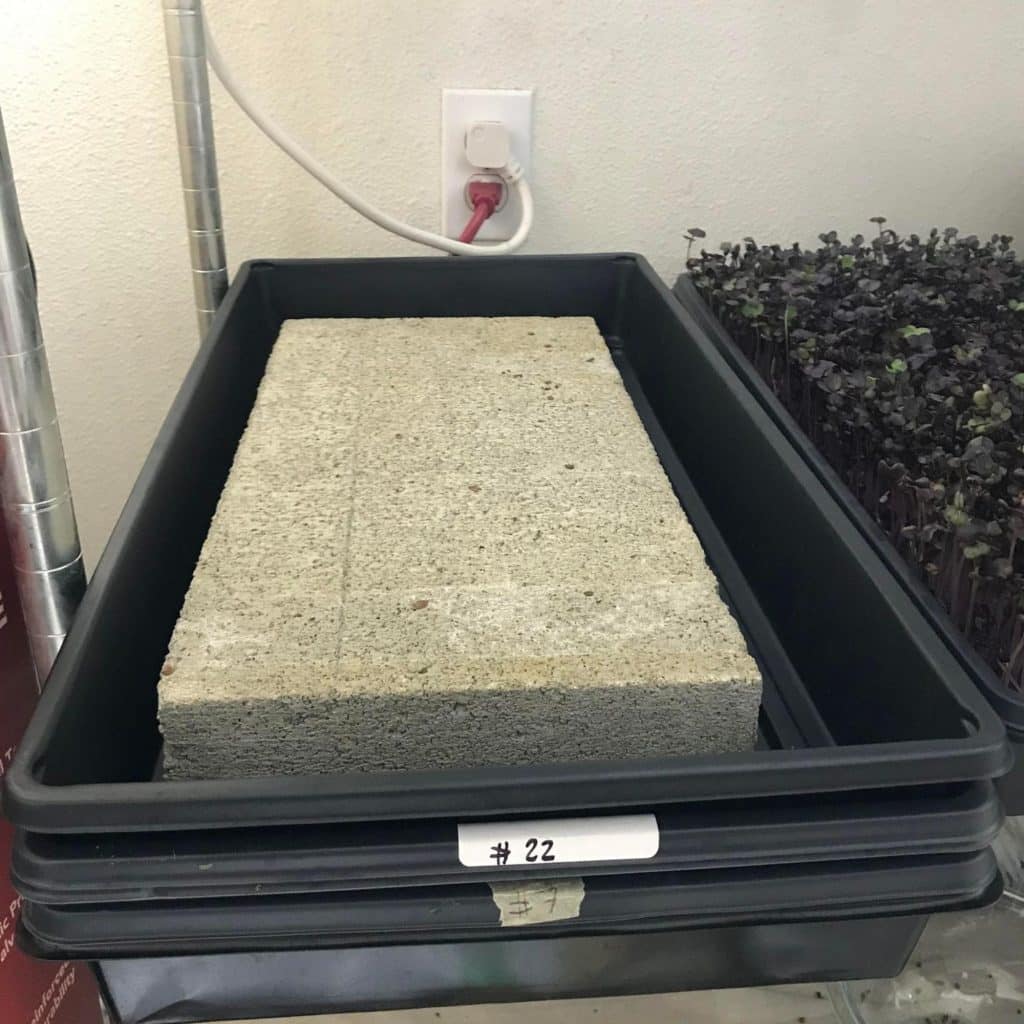
Paver or Weight
A weight of some sort is needed for most microgreens. It is used during the germination process. Some microgreens don’t do well being weighted during germination, but most do. Weighting is also a great way to help the microgreens shed their seed hulls easily. The ideal amount of weight is 10 to 15 pounds.
Typically people use pavers for their weight. This is an easy way to get the correct amount of weight. Plus it fits perfectly in the trays. Pavers themselves are pretty inexpensive and can be found at any hardware store. I purchased mine from Home Depot and I believe they were about $1.50 each.
However, when I first started out I just used a few books stacked on top of my trays for weight. So don’t feel like you have to go and buy pavers, it’s the weight part that is important.
Other Helpful But Optional Items
That’s it, everything above is what I would consider “essential” to getting your microgreens vertical garden setup. But of course I’ve got a few more things that I have found helpful in my vertical farm.
Tote
I purchased a 15-gallon plastic tote from my local Walmart. At the time it was only about $6. I use this tote to hold my coco coir. I opted for a 15-gallon tote instead of a smaller one so that I could purchase the large bricks of coco coir and hydrate it all at once. But if you’ve decided to grow with soil you may still find a plastic tote helpful to store your opened bag of potting soil mix.
A Spade or Scoop
I use a small spade to help me shovel my growing medium into my trays when I’m ready to plant new trays. You could keep it even simpler and just use a cup or a Tupperware container.
5 Gallon Bucket
I use a 5-gallon bucket to put my filtered water and mix my Ocean Solution liquid fertilizer in with the water. This is what I use to water my microgreens once they get to the bottom watering stage.
A Measuring Cup
Just like with the spade you could use whatever you have around your house. I use a 1-cup measuring cup to scoop my water and ocean solution out and bottom water my microgreens. I give my microgreens 1 to 2 cups of water mixture per watering (depending on my humidity level).
Pump Spray Bottle
When I first started I was using a simple spray bottle similar to those cleaning spray bottles that you have to squeeze with every spray. I quickly wore out my arm spraying! It wasn’t long before I went to the store and purchased a pump sprayer. These wonderful spray bottles pump out the water from pressure.
I also use my hydrogen peroxide mixture in the pump spray bottle to top water my microgreens with just a quick misting. It makes spraying down your trays so much easier!
Table
Depending on where you plan on getting your DIY microgreens set up at, you may want to include a table in your design space. It doesn’t have to be a large table, but some sort of flat surface is very helpful to have for preparing trays and for harvesting. I also use my table every time I water my microgreens as well so I can inspect them and make sure everything is growing well and looking healthy.
Kitchen Scale
Now this one is definitely optional. I use a basic kitchen scale when I’m harvesting so I can keep track of how much yield my microgreens give me. I also sell microgreens at my local Farmers Market and so the kitchen scale is helpful for when I’m packaging.
Packaging
Actual packaging is only needed if you have decided to go into the business of selling microgreens. For at-home packaging, you can certainly keep it simple with a ziplock bag and a paper towel. Since I do sell my microgreens, I purchase my containers from US Foods Chef’s Supply Store.
Dry Packs
Again, this one is only needed if you decide to sell microgreens. Dry packs function in the same way a paper towel will: they will absorb moisture in your package and help the microgreens last longer. This is essential when selling to people. For personal growth, it is probably not necessary since you’ll probably be eating your microgreens pretty quickly.
DIY Microgreens Setup: Get Started Checklist
So there you have it! You are now all set to go and create your DIY microgreens setup and start growing. If you’re excited to start vertical farming at home, or just want to get started with growing microgreens, sign up below for our “Get Started” checklist and answers to commonly asked questions. This information will help you on your way to becoming a successful DIY microgreen grower. Thanks for reading!