Growing Herbs Indoors for Beginners: An Easy Step-by-Step Guide
For a while, i was focused on just indoor plants, but then i decided to try my hands on growing herbs.
I woke up to my scraggly basil plant standing tall and proud.
Yay!!!
It was alive, and it was growing!
So I decided to dive deeper into this indoor herb-growing business.
And now, I’m here to share everything I’ve learned with you.
Living in an apartment? Limited outdoor space? No worries!
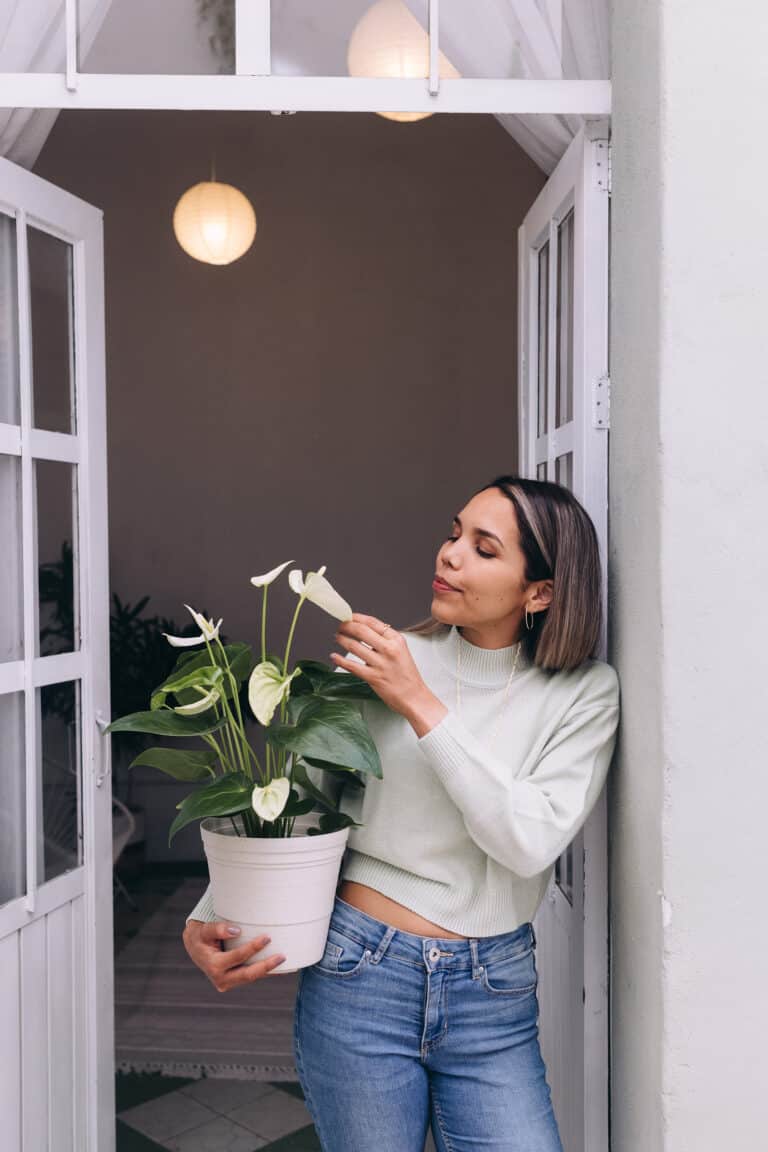
Indoor herb gardening is a fabulous way to bring a splash of green to your home while reaping the benefits of having fresh herbs just an arm’s length away.
Are you ready? Let’s get right into it…
Why Grow Herbs Indoors?
Let me tell you, having a handful of fresh herbs just a snip away anytime you want is awsome
it’s not even half as hard as it might seem!
Let’s walk through it together, shall we?
Why Grow Your Own Indoor Herb Garden?
First things first, let’s talk about the why.
You might be wondering if this little venture is worth your time.
Well, here’s why I think it’s absolutely worth it.
The Convenience of it All
Think about this, it’s drizzling outside, you’re in your pj’s , and you’ve need to make something that screams for fresh basil. Would you want to head out in the rain? Or would you rather just reach out to your little indoor herb garden to get what you need?
Ok, yes it doesn’t have to happen like that but you get the point.
Indoor herb gardens are ridiculously convenient.
They don’t care about weather, bugs, or any of those outdoor concerns.
Plus, they’re just as happy in your sunny kitchen window as they would be in a high-rise apartment.
Space is no issue here.
Fresher than Fresh
One of the biggest wins of growing your own herbs indoors is the unbeatable freshness.
No more relying on store-bought herbs that have been sitting on shelves and, let’s be honest, have lost some of their pizzazz.
With your own indoor garden, you’ll have vibrant, flavor-packed herbs anytime you need them.
It’s like your personal herb shop, just fresher!
Healthy and Hearty
Did you know your favorite herbs come packed with some pretty impressive health benefits?
For instance, basil is full of antioxidants and has anti-inflammatory properties, and mint can help soothe your tummy.
By growing your own, you’ll be serving up fresh, healthy herbs right on your plate.
Now, that’s what I call a win-win!
Saving Money
Starting your own herb garden can be surprisingly easy on your wallet. You can start from seeds or even buy a small plant and nurture it .
Plus, it’ll save you from the often pricey store-bought herbs, especially when you’re after a handful of different ones.
So, in a nutshell, an indoor herb garden is all about convenience, freshness, health, and savings. And with a bit of effort, you can set up a thriving garden that’ll supply you with flavorful herbs year-round.
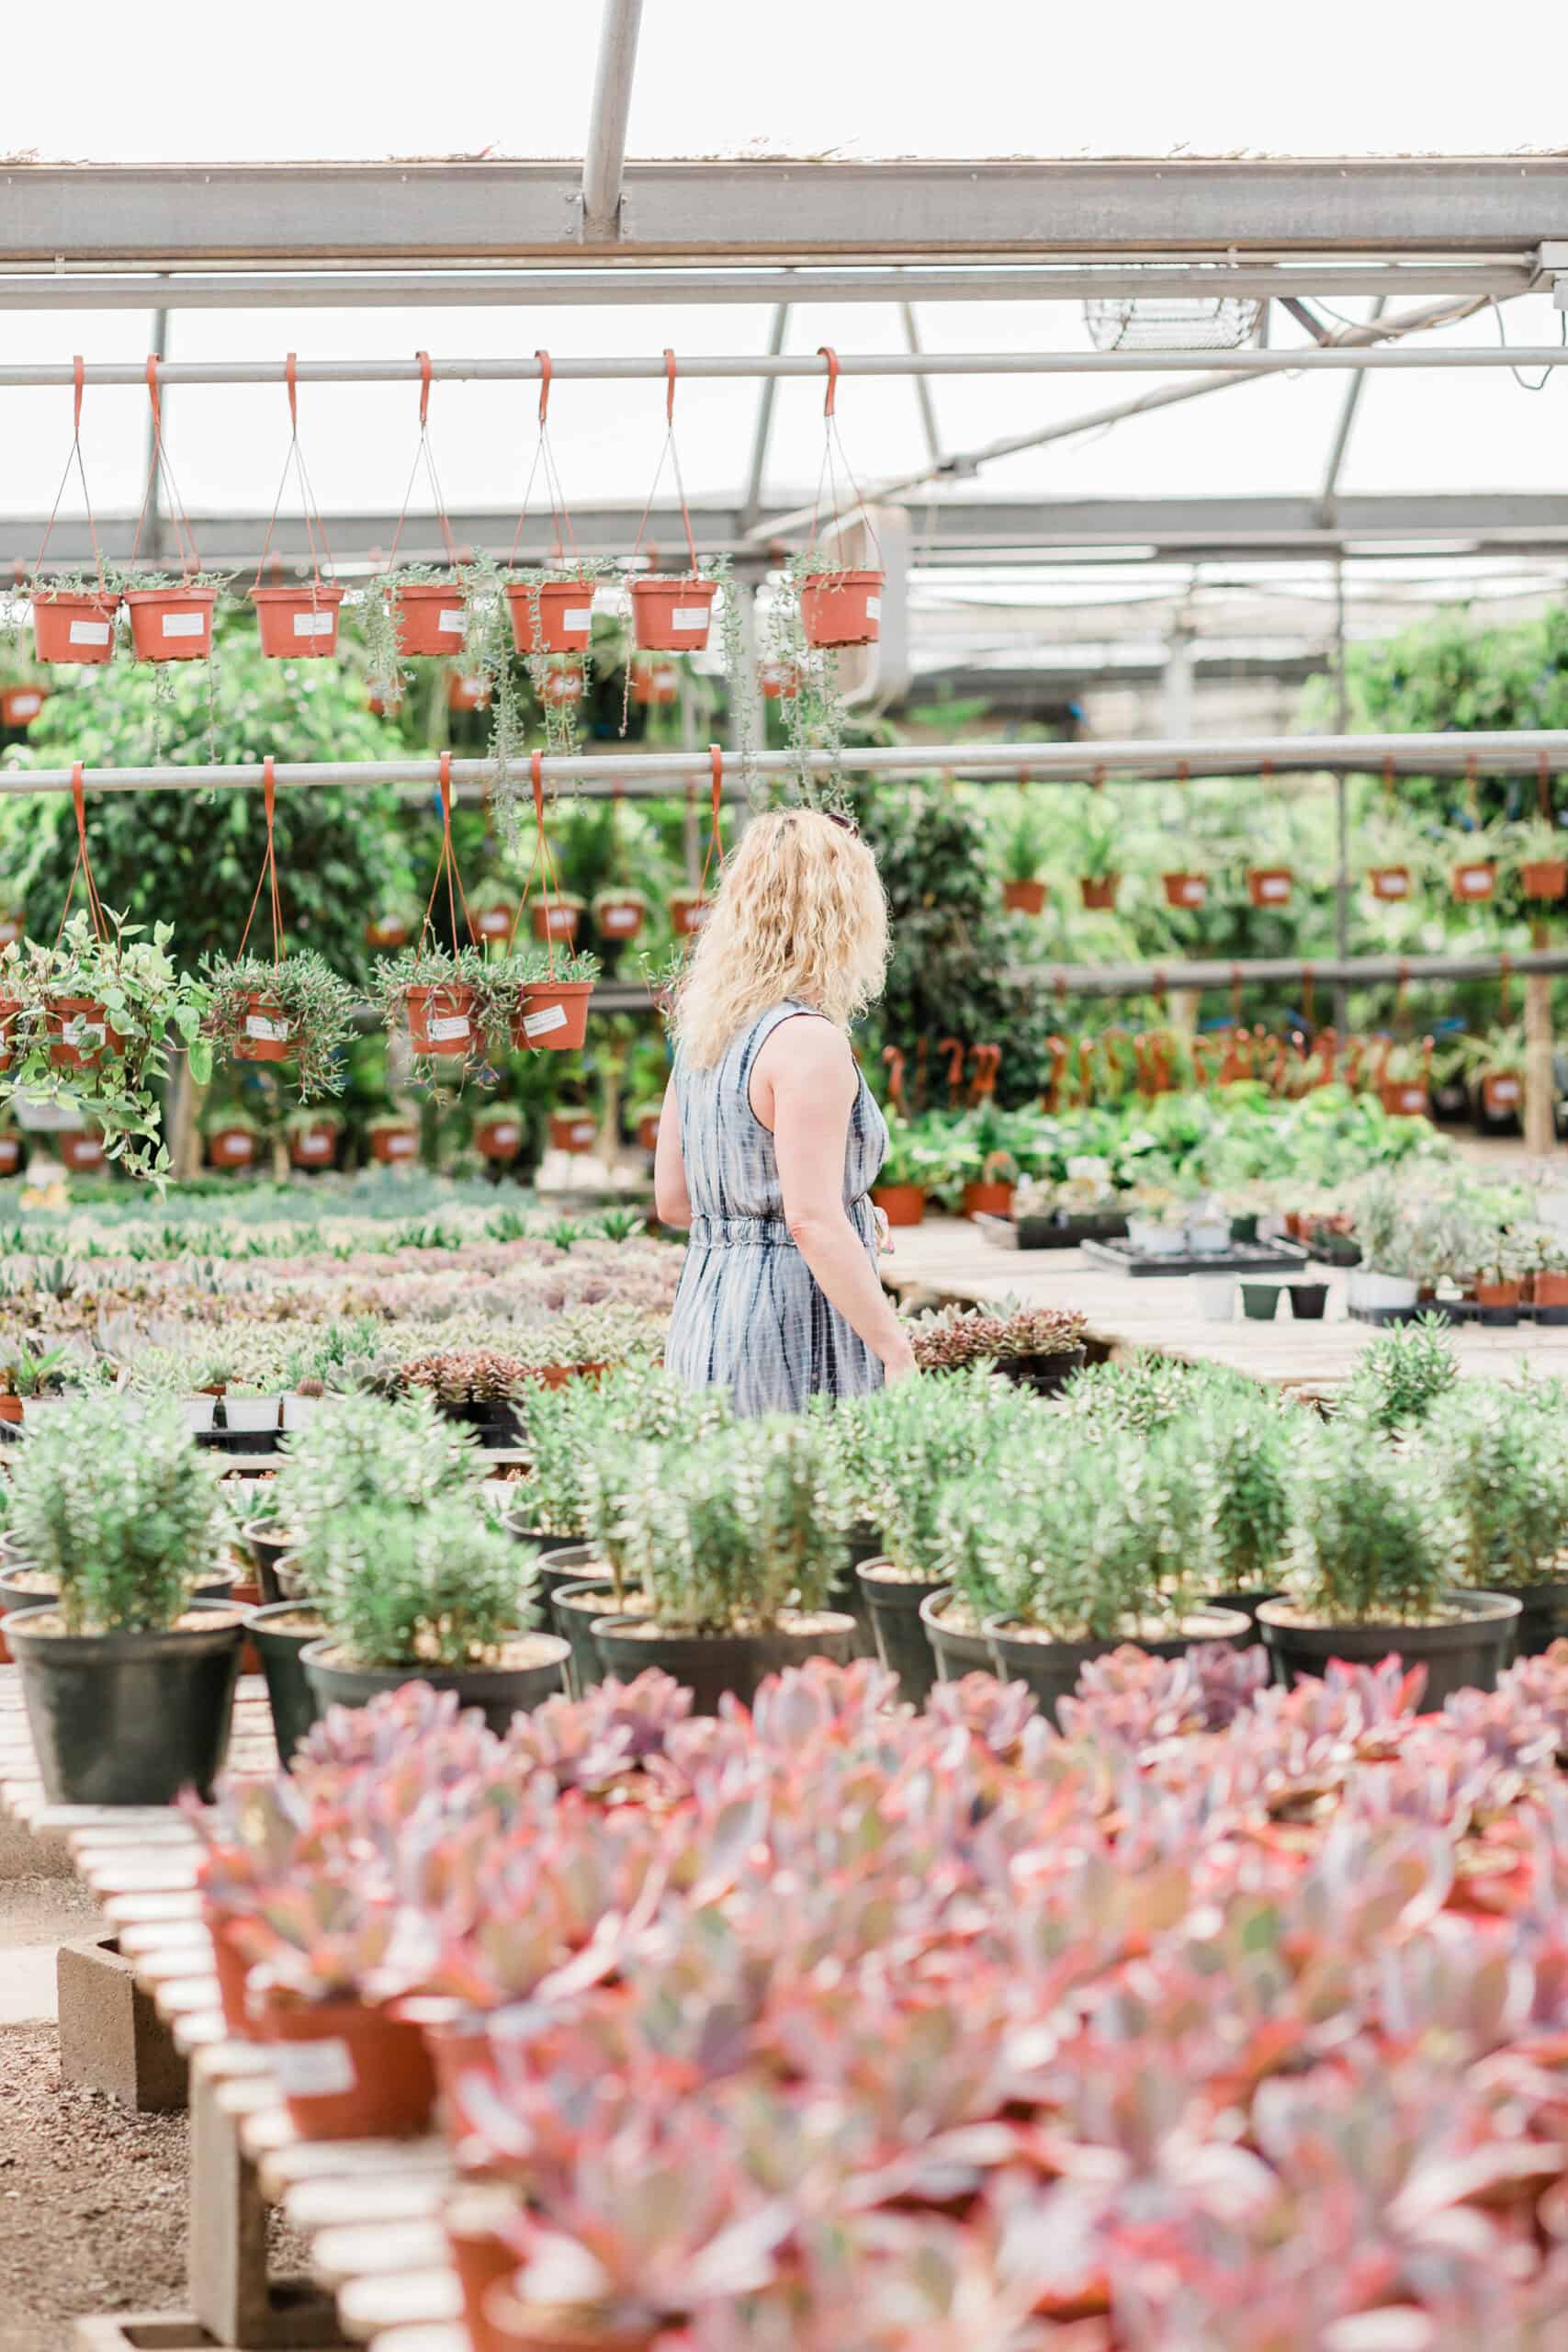
Choosing Your Green Buddies
Selecting the right herbs for your indoor garden is key, so let’s get this right! Here’s what you need to keep in mind:
Size Up Your Space and Lighting
you’ll need to take a good look at your space and the kind of light it gets. Some herbs, like basil and oregano, love basking in direct sunlight, while others like thyme and rosemary prefer a bit of shade. Understanding your home’s light conditions can help you pick the right herbs for your space.
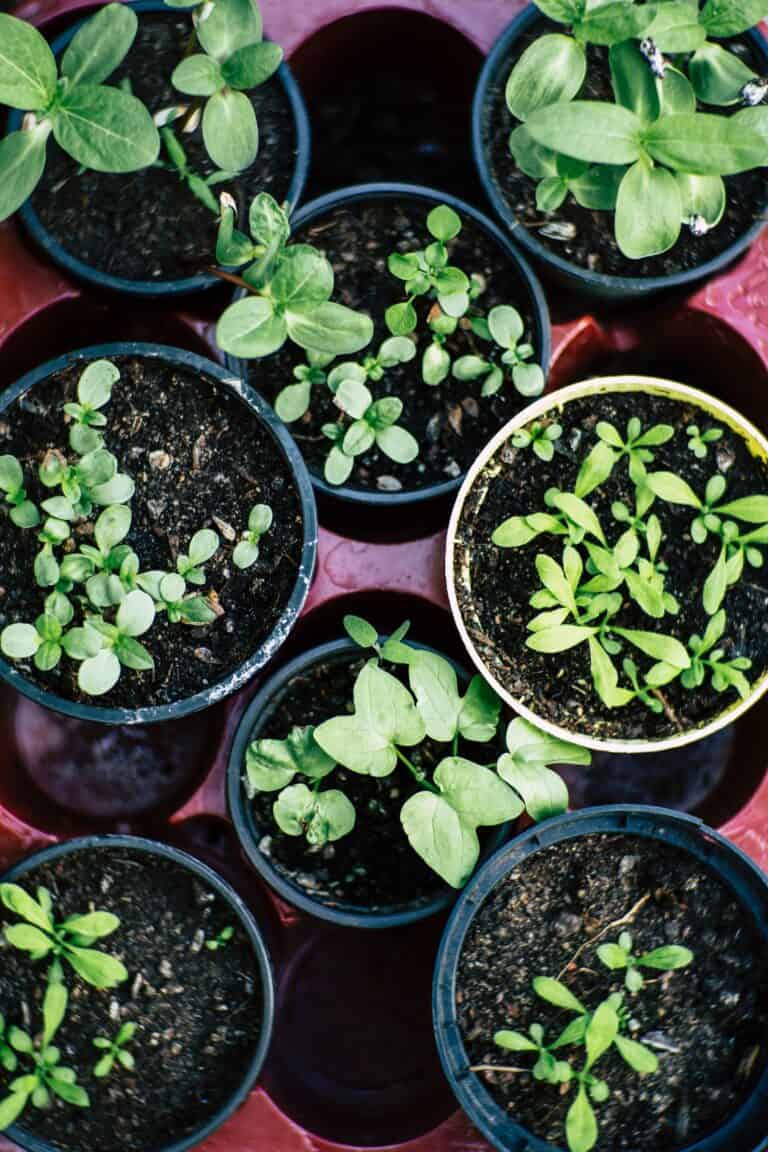
Start Small and Simple
If you’re new to this, my advice is to start simple. Basil, parsley, chives, and mint are all fantastic choices for beginners.
They’re low-maintenance, hardy, and incredibly versatile in the kitchen.
Your Taste Buds Know Best
Think about what you love to cook!
If you can’t get enough of Italian food, then basil, oregano, and thyme might be your best buds. More into Asian cuisine? Try your hand at growing ginger, garlic, or turmeric.
Having herbs that you love to use will keep you excited and motivated to care for them.
Understand water requirements
Every herb comes with its own watering preferences.
While herbs like basil and parsley love a good drink, others like thyme and rosemary prefer things a bit drier.
Understanding this can help you keep your plants happy and healthy.
Give ’em Space
Lastly, remember not to cram too many herbs into one pot.
They need space to breathe and grow, and overcrowding can lead to a host of problems like poor air circulation and disease.
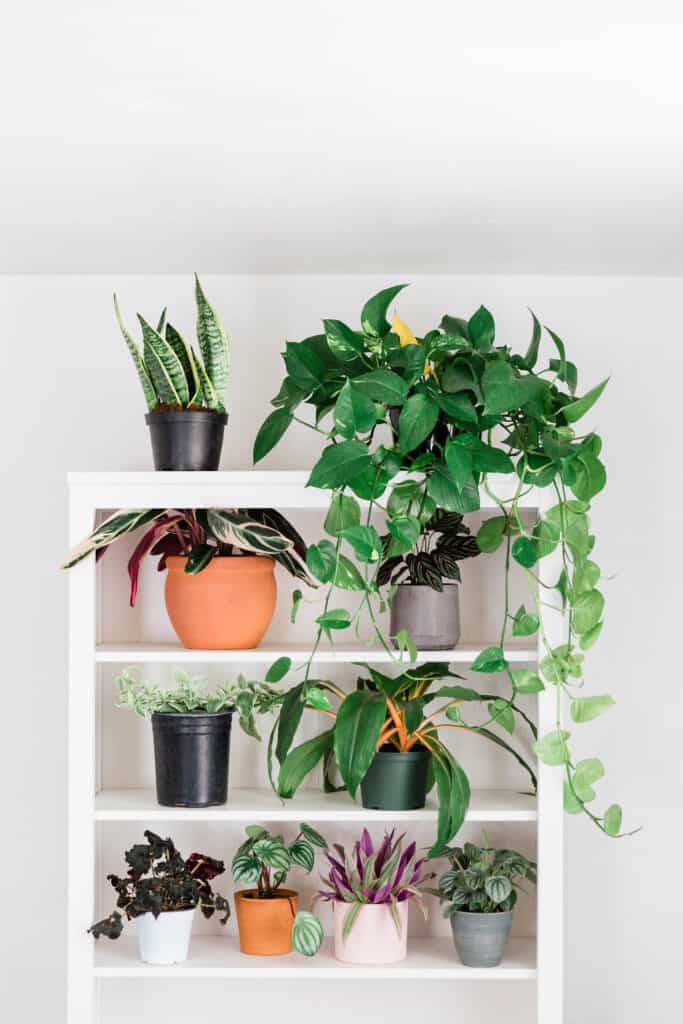
Selecting the Right Containers
The Art of Picking the Perfect Pots
Ah, pots! They’re the cozy homes that will house your herbs.
Now, you might think, “Oh, any container will do,” but let’s not make that mistake,
Here’s what you need to consider:
Size Matters… And So Does Depth
Just like your herbs have their own likes and dislikes, they also have different needs when it comes to space.
Most herbs are pretty chill and have shallow roots, so a container that’s about 6 inches deep and somewhere between 8-10 inches wide will be just right.
But if you’ve got long-rooted fellas like dill or fennel, you’ll need to get them a deeper space.
Container types
There’s a lot of materials to explore!
You’ve got plastic, ceramic, metal, and terracotta to choose from, each with its own charm. Plastic containers are lightweight champions, making them easy to move around.
Ceramic and metal ones, on the other hand, have the upper hand in durability.
And then we have terracotta containers those porous wonders that help maintain moisture levels in the soil.
All About Drainage
Herbs aren’t big fans of waterlogged soil, so good drainage is a non-negotiable.
Ensure your chosen container has drainage holes to let any excess water escape.
A little trick is to add a layer of pebbles or gravel at the bottom of the container.
This will help improve drainage and keep your herbs happy!
The Look of the Pot
Your container isn’t just functional; it can also be a style statement! Choose one that matches your decor vibes and adds a touch of elegance to your space. Funky colors, quirky patterns—the world is your oyster when it comes to picking a container that catches your eye.
So when you’re out there hunting for the perfect pots for your herbs, keep in mind their size, depth, material, drainage, and of course, their looks.
With the right containers, you can create an indoor herb garden that’s as gorgeous as it is fruitful.
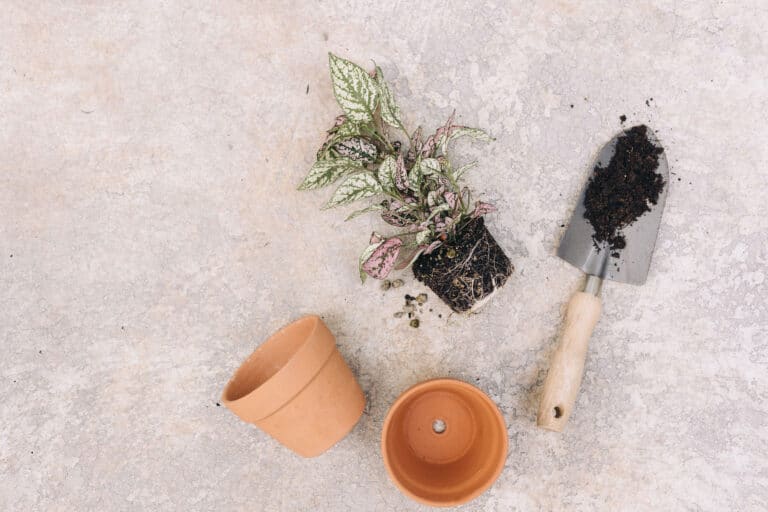
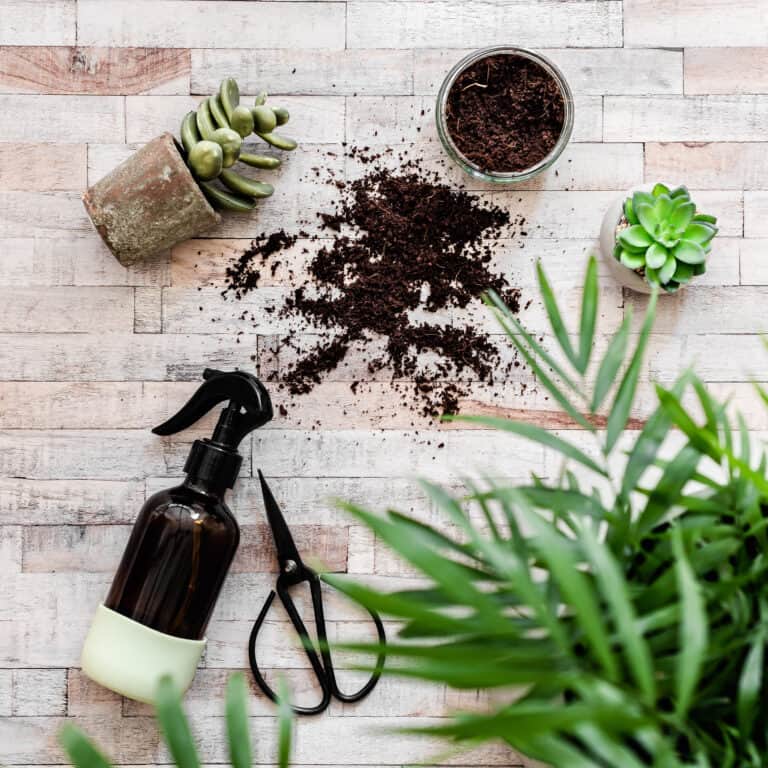
Preparing the Soil and Potting
Once you’ve got your containers sorted, it’s time to prep the perfect bed for your herbs. Here’s how you can ensure they get the comfy nest they deserve:
Soil Preparation
Before we start potting, we need to get the soil ready. While most herbs are fans of well-draining soil loaded with organic matter, some might have specific preferences. Here’s how you can make your soil herb-ready:
- Begin by filling up your pot with a layer of compost. This will feed your herbs with essential nutrients and help with drainage.
- Next up, sprinkle a layer of perlite or vermiculite. This will ensure your soil doesn’t get compacted and has good drainage.
- Mix in your chosen organic potting soil. Make sure it’s a top-notch mix designed especially for herbs.
- Lastly, spread a layer of organic matter, such as shredded leaves or straw. This will hold on to moisture and enhance the structure of the soil.
Potting
With your soil prepped and ready, it’s time to invite your herbs to their new home! Here’s how to do it:
- Choose a pot that’s just the right size for your herb. Aim for a pot that’s at least 6 inches deep and equally wide.
- Fill up your pot with the prepared soil mix, leaving about an inch of space at the top.
- Make a small hole in the center, gently nestle your herb in it, and then cover it up with soil.
- Press down gently around the base of the herb to ensure it’s snuggly seated in its new home.
- Give your herb a nice, thorough watering, ensuring the soil is evenly moist.
Voila!
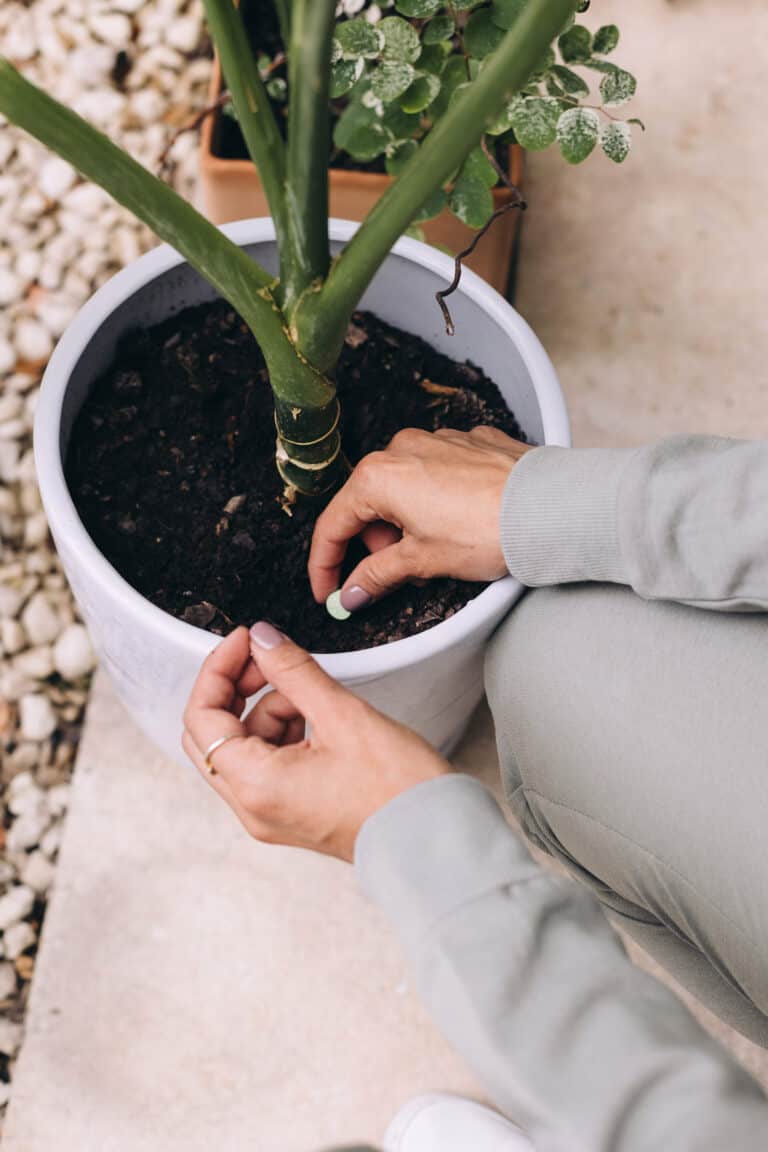
Watering and Drainage
Watering and drainage is all a delicate balancing act!
You don’t want to drown your herbs, nor do you want to leave them parched.
Here are some tips to help you get it just right:
- Use a watering can with a narrow spout. This prevents water from splashing on the leaves and soil, warding off any chances of mold and mildew.
- Water your herbs when the top inch of soil feels dry. A simple finger test can help you judge when it’s time for a drink.
- Don’t overwater your herbs! Remember, your pots’ drainage holes are there to help avoid waterlogging, which could lead to root rot.
- Make sure your pots have adequate drainage holes. If not, don’t hesitate to drill some more!
- Use a well-draining soil mix to prevent excess water accumulation. Mixing peat moss, compost, potting soil, perlite, and vermiculite can give you the perfect blend.
- If you’re unsure about watering, start by hydrating them once a week and then adjust based on how quickly the soil dries.
Just keep these pointers in mind, and your herbs will stay hydrated and vibrant!
Understanding Light Requirements
Herbs need their dose of sunshine to flourish. The right amount of light can be the difference between a thriving herb and a wilting one.
Here’s what you need to know about herb light requirements:
Natural Light
A sunny windowsill is your best bet for natural light.
While herbs like basil and oregano love basking in direct sunlight, others like thyme, rosemary, and mint are fans of indirect or filtered light. If you’re lacking a sunny windowsill, find a spot in your home that gets a good amount of sunlight.
Grow Lights
If natural light is scarce, grow lights can save the day!
These artificial lights mimic the sun’s light spectrum and can help your herbs grow. Just ensure your herbs get the right amount of light for instance, rosemary and thyme adore full sun, whereas parsley and chives can handle partial shade.
Light Duration
Apart from the amount, the duration of light exposure is equally important. Herbs need anywhere between 12 and 16 hours of light per day, depending on the type of herb. A timer can be a handy tool to ensure they’re getting the right amount of light.
Light Intensity
Finally, let’s talk about light intensity. Different herbs need different levels of light intensity—full-sun herbs like basil and oregano need six to eight hours of direct sunlight daily, while partial-sun herbs like parsley and chives require less intense light.
In essence, light is a vital ingredient in your herb-growing recipe. Whether it’s natural or artificial, your herbs need just the right amount, duration, and intensity of light.
Continue reading: Planting and Nurturing Your Indoor Herb Gardening: A Step-by-Step Guide
Wrapping Up
With the right guidance and this easy step-by-step guide, you can successfully grow a variety of herbs, enjoy the fresh flavors they add to your meals, not only adds a touch of green to your living space but also invites a healthier lifestyle right into your home.
Now it’s your turn! What herbs do you absolutely love growing indoors?
What are some of your favorite herbs to grow indoors?
Any particular success stories or challenges you’ve faced?