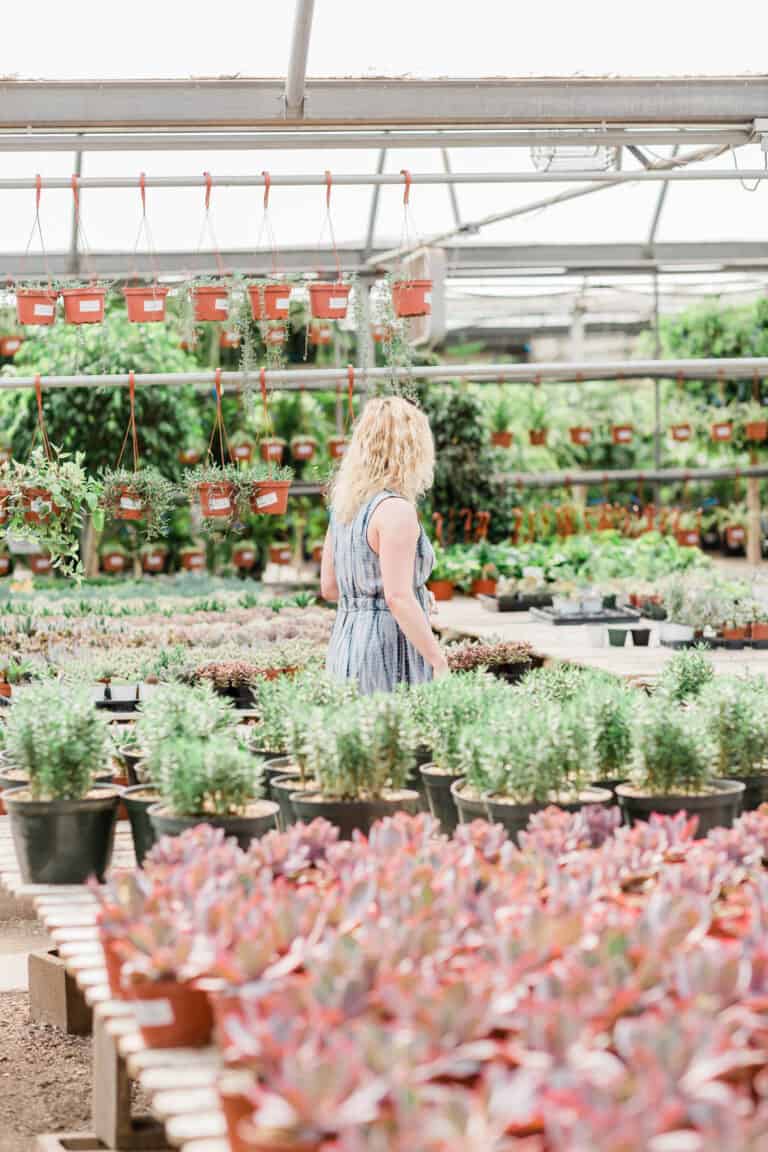
How To Adjust Soil PH Levels After Planting
You know that feeling when you’re super excited to plant your favorite veggies, and you swear you did everything right?
You’ve nurtured them, loved them, and provided food and water…but then they go all droopy on you and just don’t seem happy…Well, I got a hunch that it could be your soil pH levels!
The question is, can we adjust soil pH levels AFTER planting? YEP, sure did say after!
Stick with me, ’cause I’m about to dish out some life-changing (or at least plant-saving) info.
In this blog post, you’ll discover:
- How soil pH levels affect your plants’ growth and health
- Tips for testing and (finally) understanding your soil’s pH levels
- Ways to adjust your soil pH levels even after planting
Yep, we’re turning plant SOS into plant success (can I get a #PlantLife).
What on Earth is Soil pH, and Why Should I Care?
Glad you asked!
Soil pH is a measure of how acidic or alkaline your soil is, and let me tell you, it’s a BIG DEAL. Why?
Because different plants have different pH level preferences, and if the soil’s pH is off, it can cause poor growth, nutrient deficiencies, and even plant death.
But by adjusting your soil pH levels after planting, you can give your plants their best chance at success!
How Can I Tell if My Soil pH Is Off?
Great question! Here are some tell-tale signs that your soil pH may need some love:
- Your plants are growing slower than expected
- There’s a yellowing of the leaves
- You’ve spotted some nutrient deficiencies
Recognize any of these? Yup, I’ve been there.
But don’t stress adjusting your soil pH levels is totally doable!
Adjusting Your Soil pH Levels: A Step-By-Step Guide
Alright, now let’s get down to the nitty-gritty. (Literally.) Here’s how you can make the magic happen:
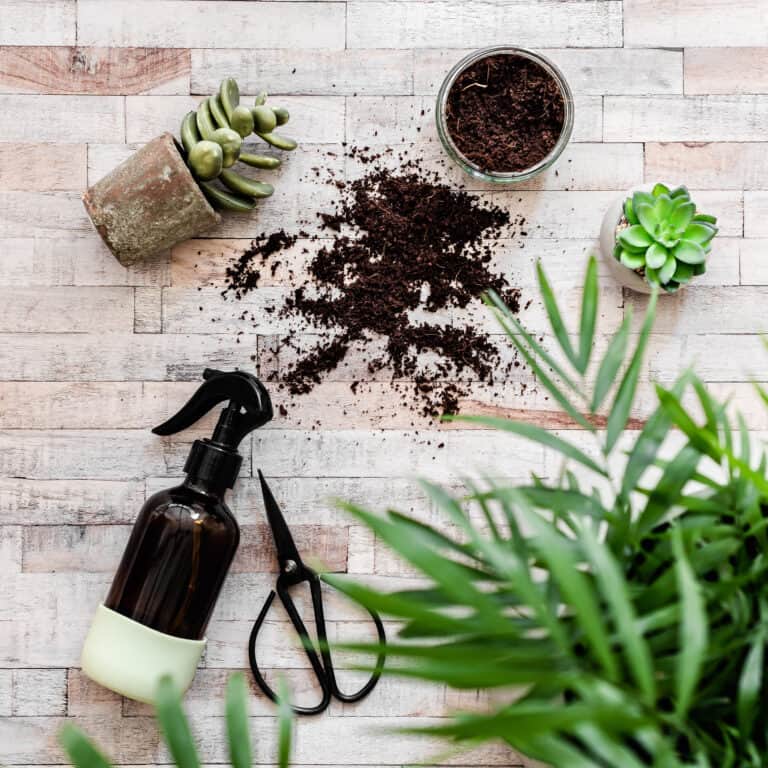
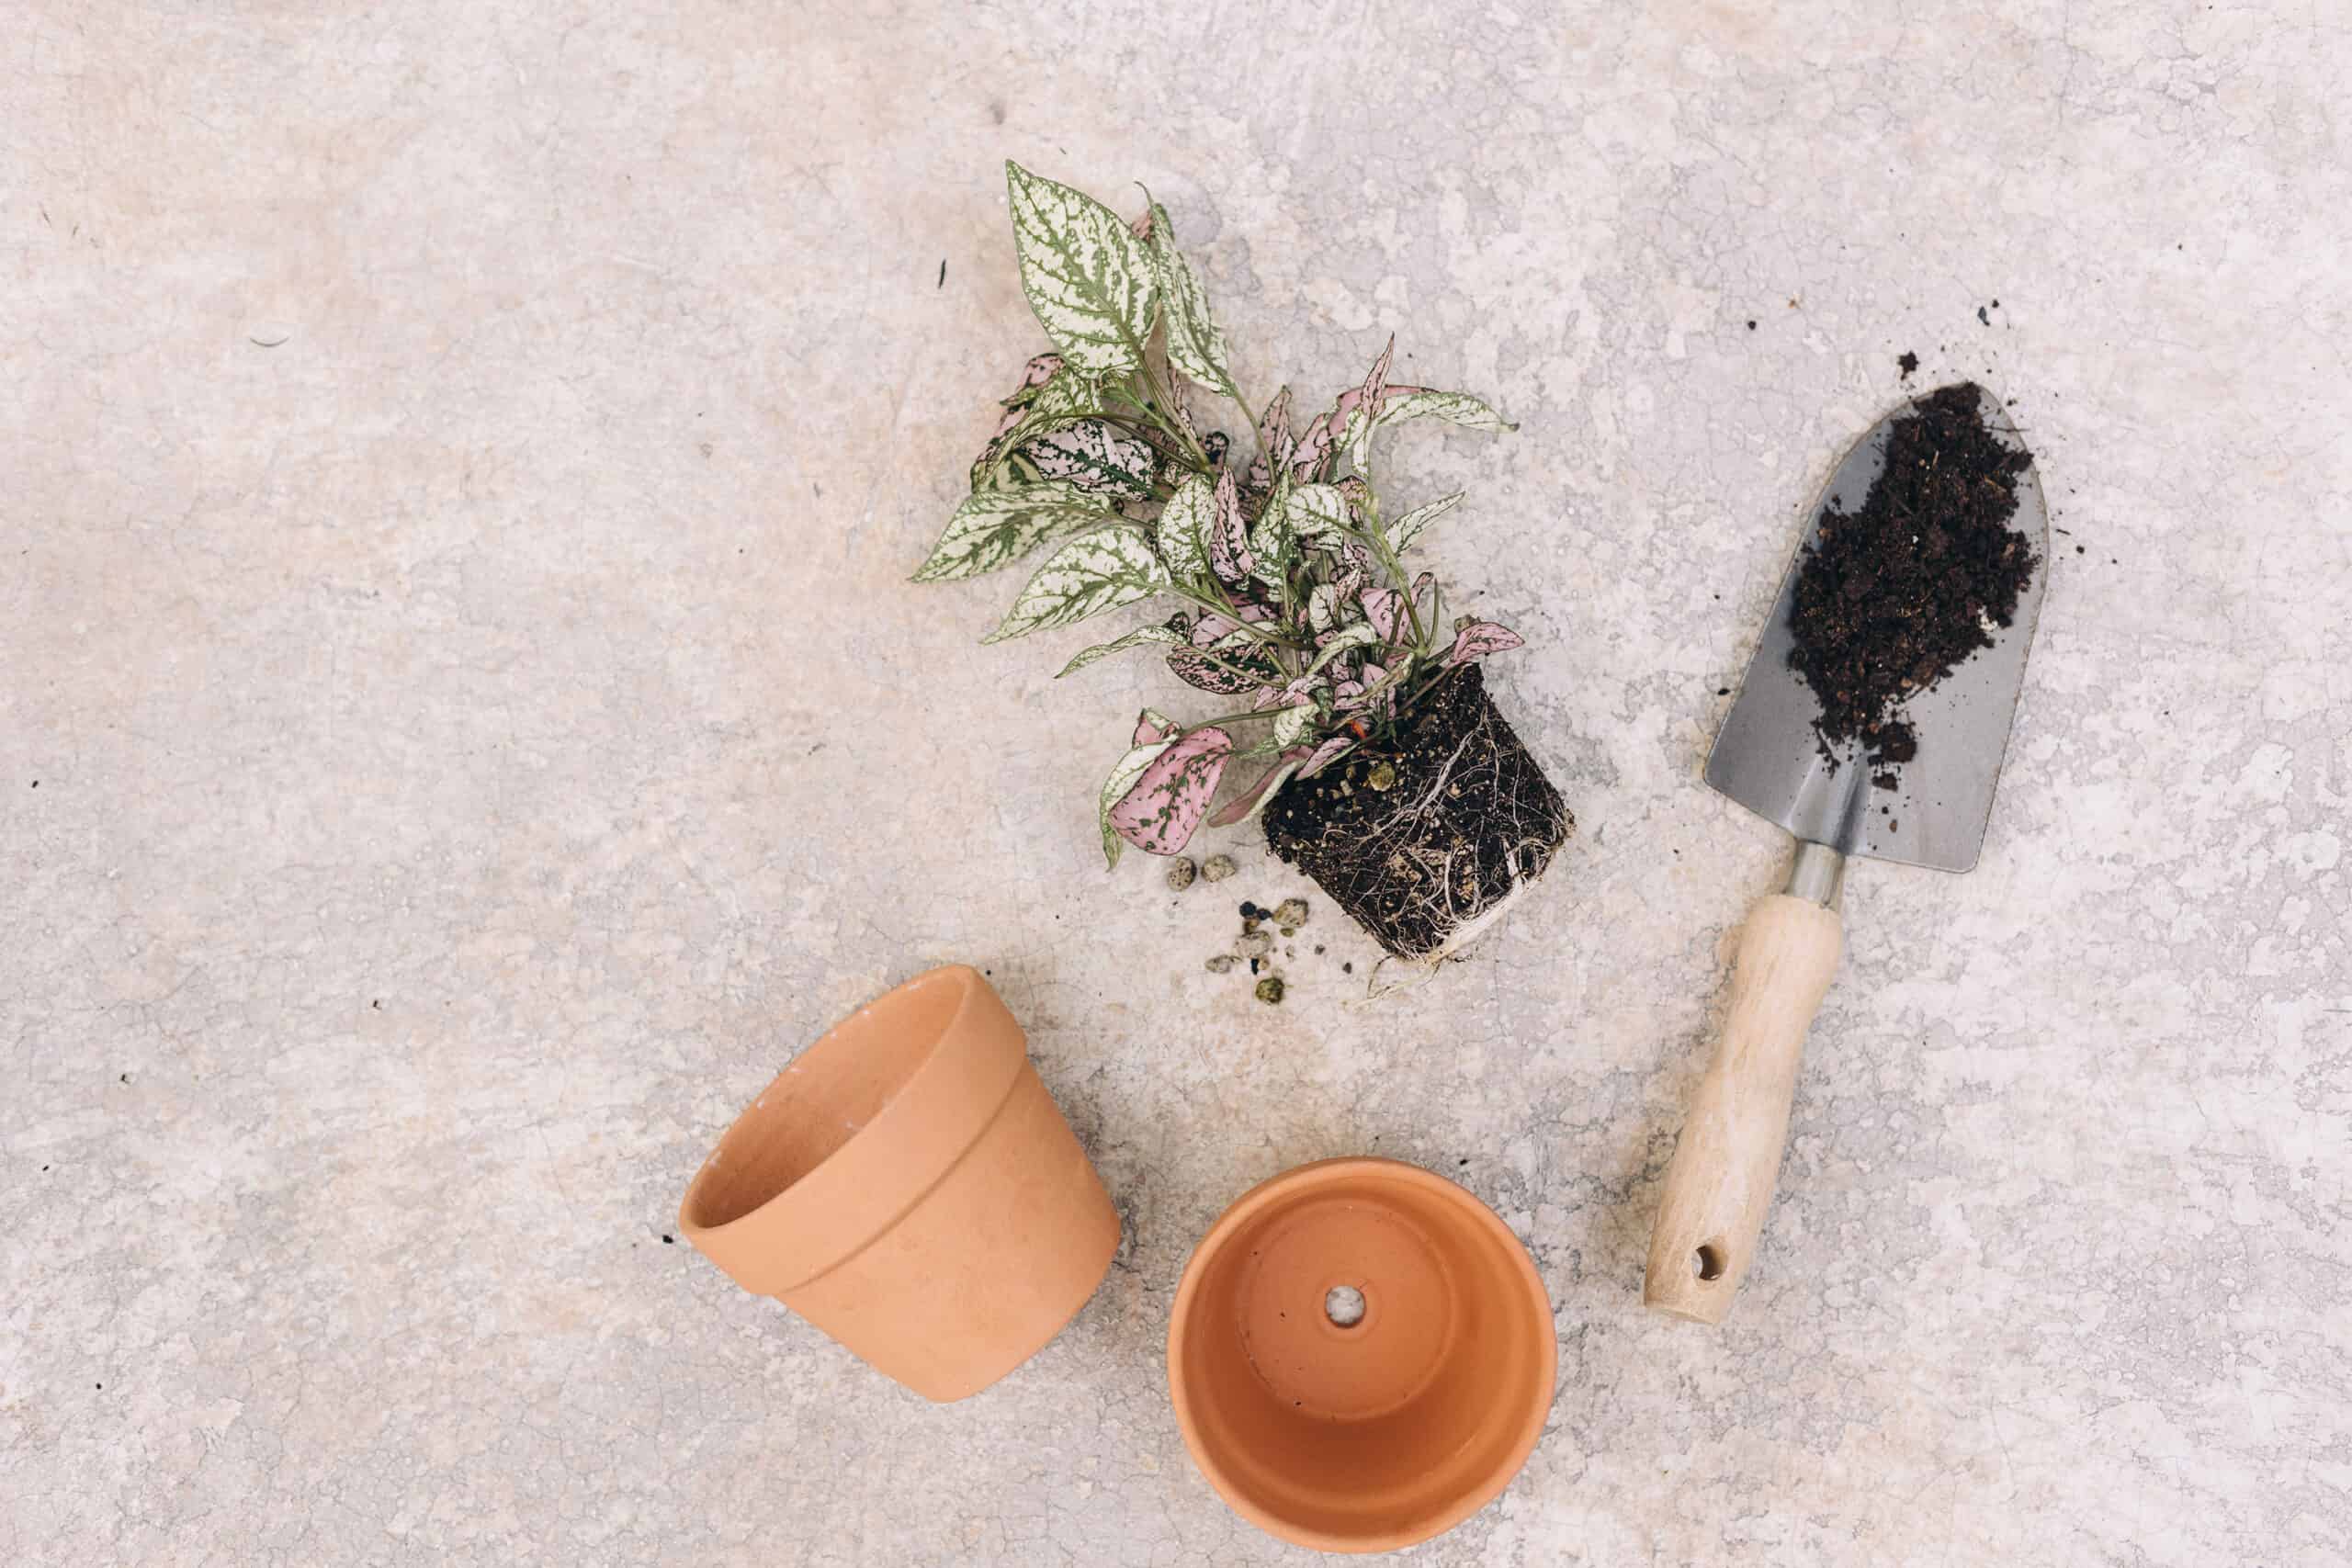
Step 1: Test Your Soil
First things first, you need to determine your soil’s current pH level. There are several ways to do this:
- Purchase an at-home soil pH test kit
- Use a digital pH meter
- Send a soil sample to a professional lab for testing (a good option if you want super accurate results)
Step 2: Choose Your Adjustment Method
Depending on your soil’s current pH, you’ll need to add amendments to raise or lower the pH level. Here are my tried-and-true recommendations:
- For raising pH (acidic soils): Use agricultural limestone
- For lowering pH (alkaline soils): Opt for sulfur
Step 3: Apply the Adjustments
Now that you’ve got your amendments, it’s time for application! It’s essential to follow the manufacturer’s instructions, but here are some general guidelines to keep in mind:
- Take your time. Soil pH adjustments aren’t instant – they can take weeks or months to fully take effect. So patience is key!
- Mix it well. When applying your chosen amendment, be sure to mix it thoroughly into the soil
Step 4: Ongoing pH Maintenance
News flash: soil pH isn’t a set-it-and-forget-it kind of deal.
You’ll need to keep an eye on things, test regularly, and adjust as needed. The needs of your plants may change depending on the season or weather conditions.
The Art of Composting: Your Natural pH Balancer
Composting is like the superhero of gardening, reducing waste, improving soil structure, and yes, even helping balance soil pH.
By adding organic matter to your soil, you’re gradually moving towards that sweet-spot pH of 6 to 7. Plus, composting is like cooking; just throw in your kitchen scraps, yard waste, and wait for the magic to happen.
Understanding Your Plants
Just like people, different plants have different preferences. Some love acidic soil (like blueberries and azaleas), others love alkaline soil (like clematis and artichokes), and some are just plain easy-going (like most veggies).
The trick here is to know your plants’ preferences and tailor your soil pH to suit them.
A little research goes a long way!
The Regular Check-ups
Yes, you guessed it, regular soil tests are a must!
This isn’t just a one-and-done scenario. Just like your car needs regular check-ups, so does your soil. A good rule of thumb? Test your soil at least once a year, usually in the spring before you start planting.
And if you’re making big pH adjustments, you might want to test more frequently, say, every few months.
Look, we’ve all been there, right?
That time you added too much limestone and ended up with super alkaline soil. Or that time you forgot to test your soil for a couple of years, and your plants started looking a little…wilted.
But you know what? It’s all part of the learning process!
As a wise person once said, “The only real mistake is the one from which we learn nothing.” So keep experimenting, keep learning, and keep growing (literally and figuratively!).
Quick Recap
So to conclude..
Soil pH is a measure of how acidic or alkaline your soil is, and it’s essential to know so you can give your plants the best chance at success. To adjust your soil pH levels after planting, first test your soil, then choose and apply an amendment (either agricultural limestone for raising pH or sulfur for lowering pH).
- Testing your soil’s pH levels is a must-do before trying to adjust anything.
- Different plants thrive in different pH levels – know your plants’ needs!
- To raise your soil’s pH, add lime or other alkaline materials.
- Lowering your soil’s pH can be achieved by using sulfur, organic materials, or even some acid-loving plants.
- Adjusting pH levels requires patience and persistence
I’d love to hear your thoughts, ideas, or success stories on this topic.
Leave a comment below, and let’s get chatting!