How To Get Started Growing Microgreens: A Beginner’s Guide
If you’re like me, you love adding microgreens to your meals for an extra nutrient boost. Not only are they delicious, but they’re also incredibly easy to grow! Are you ready to grow microgreens for your family but not sure where to start? In this beginner’s guide, I’ll show you how to get started growing microgreens in your own home. You’ll be able to add these nutritious greens to all sorts of dishes in no time at all. Let’s get started!
What are Microgreens?
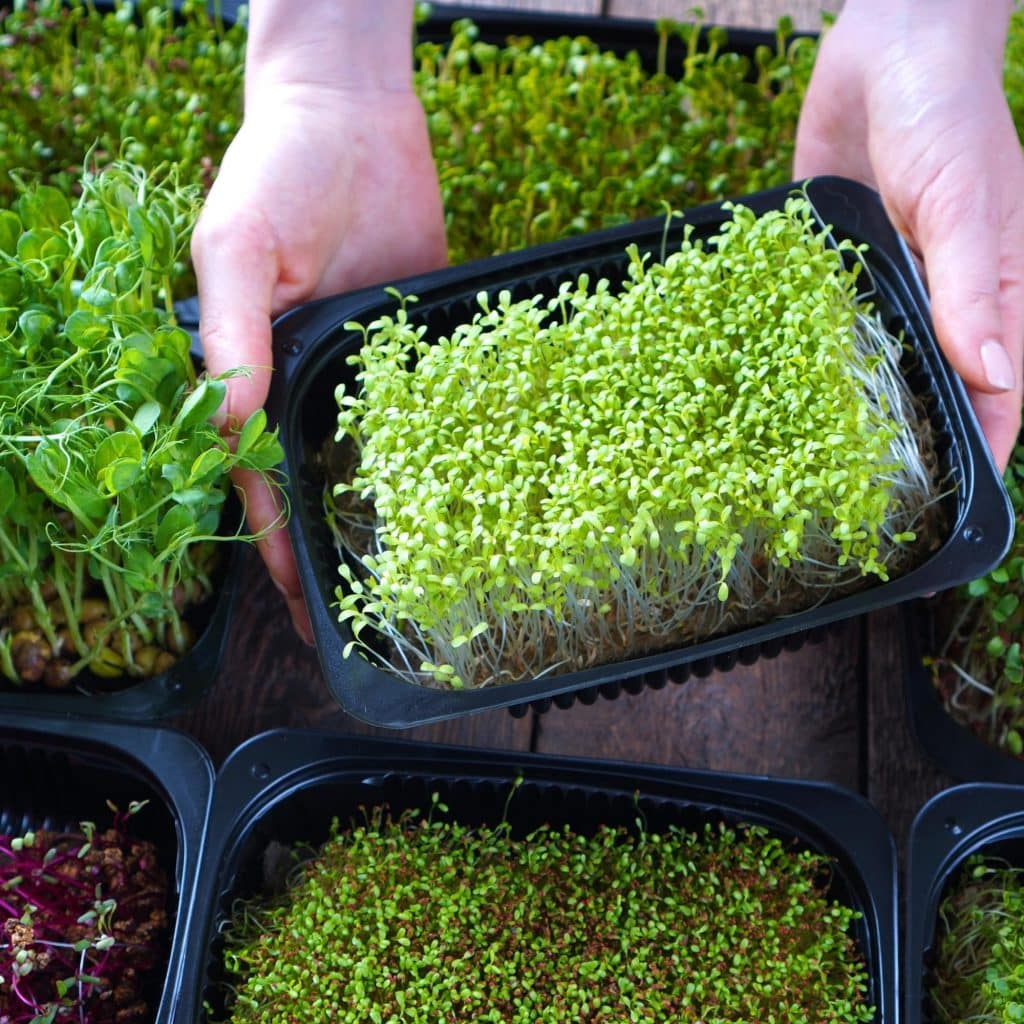
Microgreens are simply young greens that are harvested before they reach full maturity, typically anywhere from 7 to 30 days after being planted. These little powerhouses are packed with nutrients and flavor, making them a perfect addition to any meal. But that’s not all – microgreens are also incredibly easy to grow, even if you don’t have a lot of space. All you need is a windowsill and a few minutes each day to get started.
Why You Should Grow Microgreens
There are plenty of reasons to start growing microgreens in your own home. For one, they’re incredibly nutritious – even more so than their full-grown counterparts. This is because microgreens contain higher levels of vitamins, minerals, and antioxidants than fully-grown plants. They’re also low in calories but high in fiber, making them a perfect addition to any healthy diet.
Not only are microgreens good for you, but they’re also good for the environment. Unlike many other crops, microgreens can be grown indoors without the use of pesticides or other harmful chemicals. Plus, they don’t require a lot of water or other resources to grow. All you need is a container, some potting mix, and some water – it’s that simple!
How to get started growing microgreens
Growing microgreens might seem intimidating but don’t let that stop you. Microgreens are one of the easiest things to grow only second to sprouts. Depending on the microgreens that you decide to grow, you can harvest them in as soon as 7 days!
Picking the growing location
While microgreens don’t need to be in the light for the first 3 to 4 days of their life, they do need to have a decent amount of sunlight after that. When figuring out where to set up your microgreens you want to keep this in mind. Ideally, you want to use a sunny windowsill or kitchen counter that gets at least 8 hours of sunlight. If you don’t have that, then you can still grow microgreens, you’ll just want to invest in a grow light.
Picking your seeds
When it comes to growing microgreens, there are all sorts of seeds to choose from. Don’t let that stop you from getting started though. These are some beginner-friendly options I recommend:
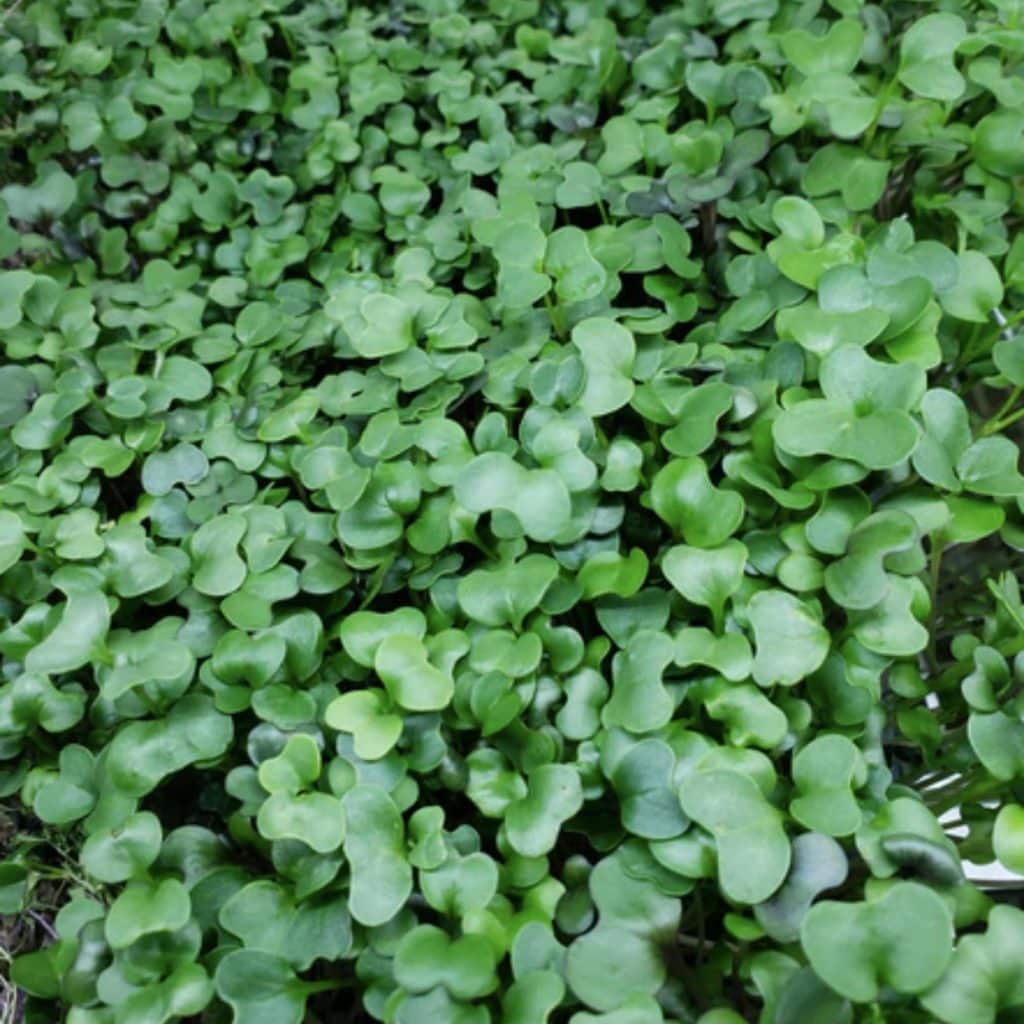
Arugula Microgreens
Arugula has a pleasantly sharp peppery flavor which enhances any dish, such as salad. Arugula microgreens have the same amount of Calcium found in spinach leaves.
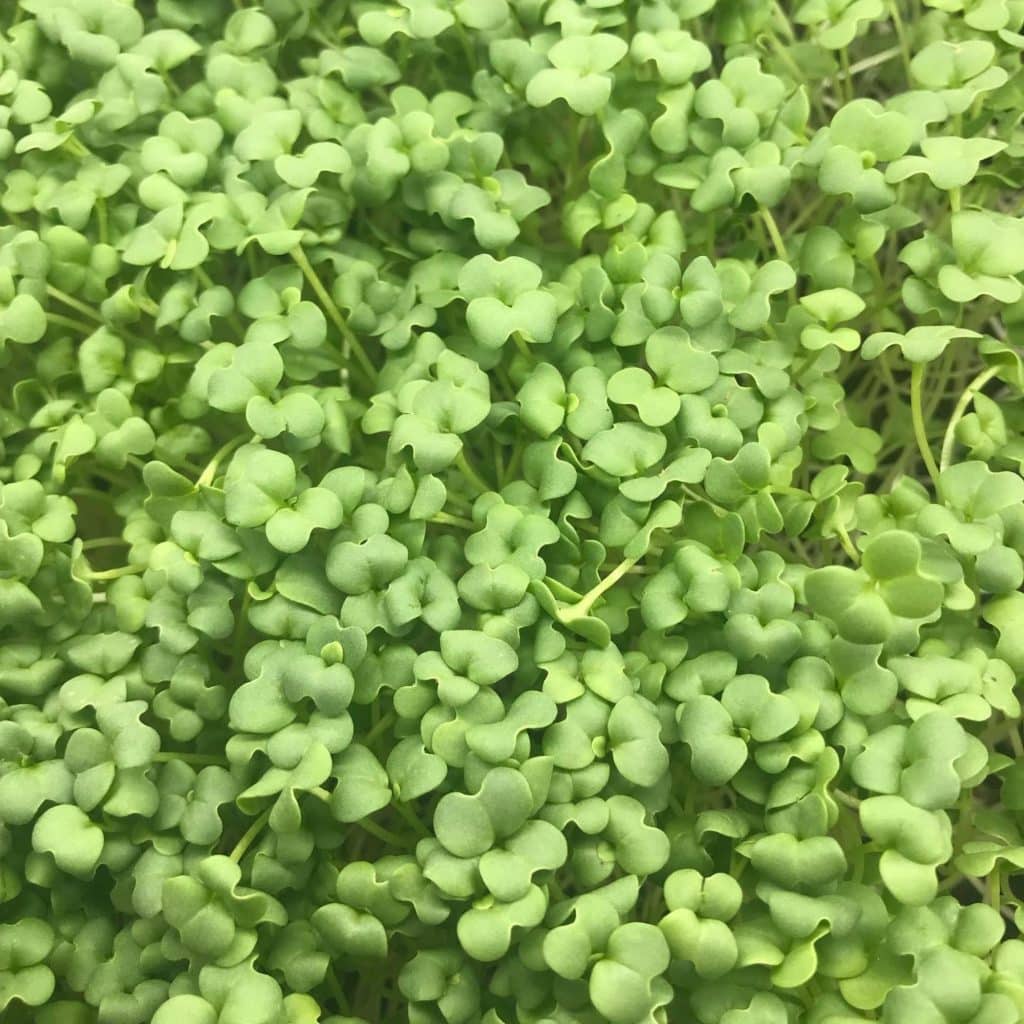
Broccoli Microgreens
Broccoli is the most nutrient-dense microgreens. It is a great source of sulforaphane which aids in calming inflammation. It has a deliciously mild, fresh broccoli or cabbage flavor and makes a great garnish and addition to any microgreens salad, sandwich, or wrap!
Kale Microgreens
Kale is a very nutrient-rich food. Microgreens provide all of the health advantages of kale but without the sometimes bitter taste that comes with older kale leaves. Some of the benefits this nutritious vegetable provides are:
- Full of cancer-preventing antioxidants that reduce harmful free radicals.
- Anti-inflammatory, which reduces swelling and pain in the body.
- Fortifies the immune system and improves brain health.
Oriental Mustard Microgreens
The zesty flavor of Oriental Mustard makes it a perfect addition to sandwiches and salads. It has a milder taste when grown to adult size. This mustard microgreen is amazingly flavorful and tastes just like wasabi. This one is my personal favorite and I love putting it on top of my homemade ramen bowls.
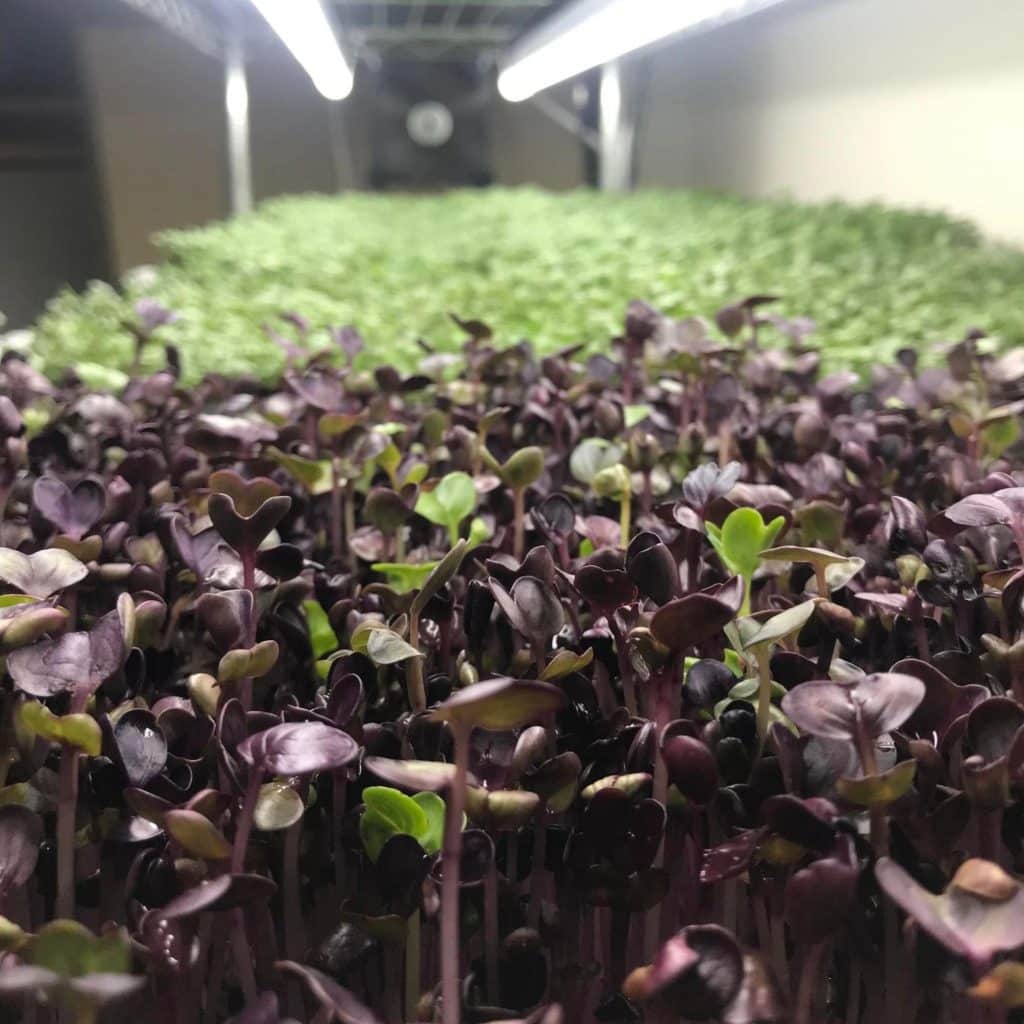
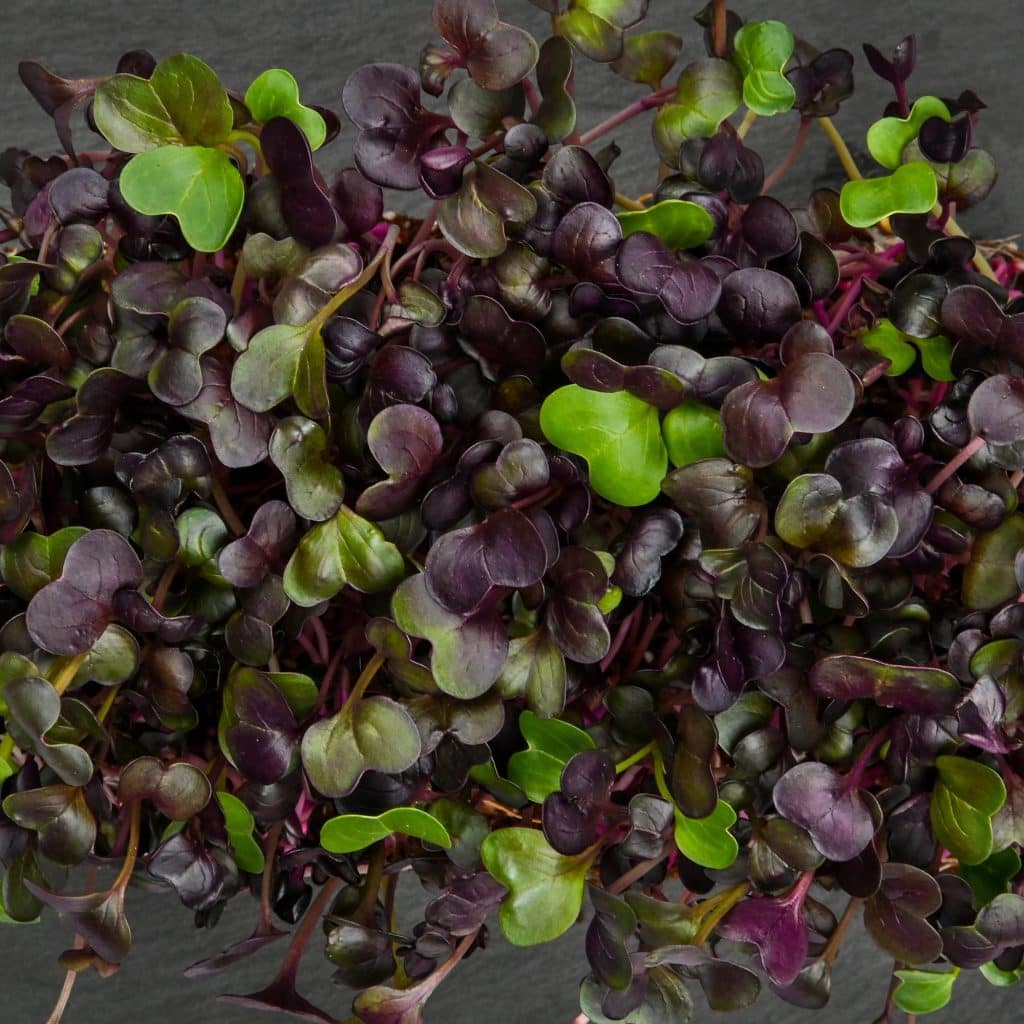
Radish Microgreens
Radish microgreens have a concentrated radish flavor making them perfect to use instead of sliced radish anywhere you would normally use radish. Radish microgreens are packed with nutritional benefits. A few of these benefits include:
- Anti-inflammatory, which reduces swelling and pain in the body.
- A natural diuretic, which can aid in reducing blood pressure.
- Helps detoxify and cleanse the body.
Salad Mix Microgreens
There are multiple microgreen salad mixes. My favorite has been the Spicy Salad Mix from TrueLeaf Market. Microgreen Salad mixes are just that, a mix of different microgreens that grow well together and typically have the same growth cycle. The Spicy Salad Mix is a blend of Broccoli, Kale, Kohlrabi, Arugula, Red Cabbage & Mustard.
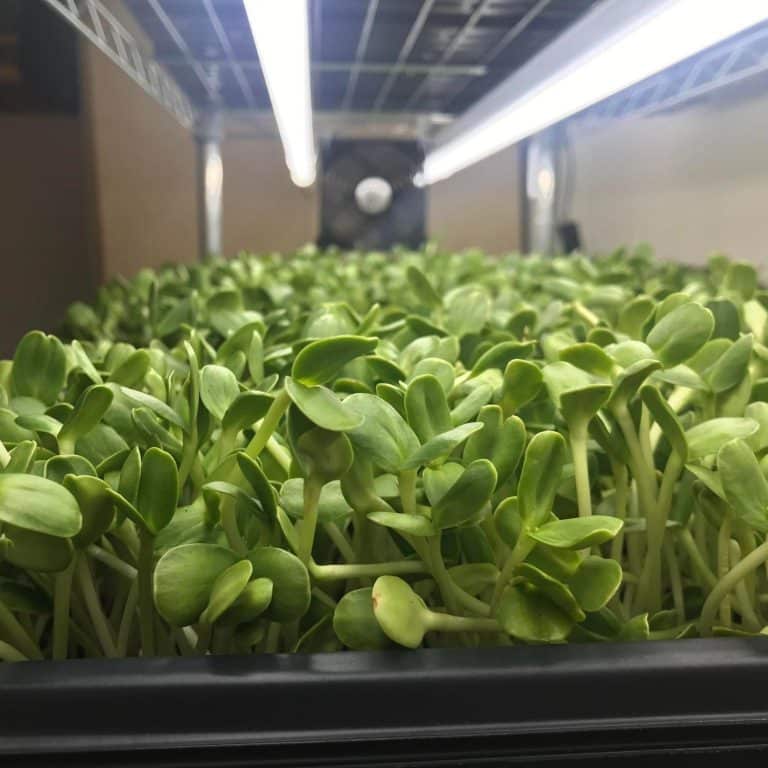
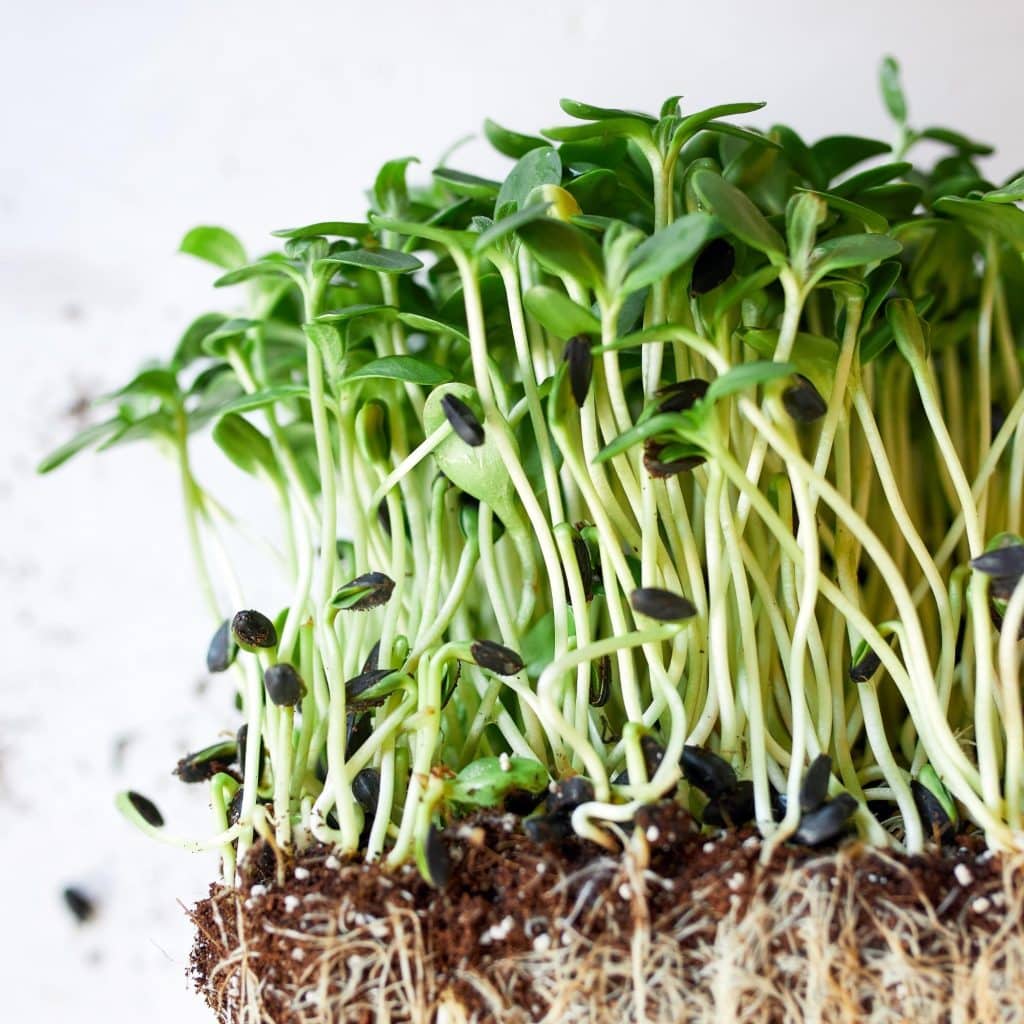
Sunflower Microgreens
Specifically Black Oil Sunflower. Many consider sunflower shoots to be the best-tasting, most versatile microgreens available. They are great fresh, frozen, or cooked. Black Oil sunflower shoots are savory, nutty, and slightly sweet. Black Oil sunflower seeds are one of the best seeds for microgreens beginners.
What supplies you’ll need
The supplies to get for growing your microgreens can be as simple or extravagant as you want. However, I’m all about keeping things simple and inexpensive if possible. So here are some basics:
A Tray, Pot, or Container
Keep things simple for yourself. Take a look at what you already have in your house. Use a simple pot, or even use a Tupperware container. Drainage holes are ideal, so I’d probably save the Tupperware container as a last resort. A good thing to note is that you don’t need a deep container. Since you harvest microgreens so early in their life they don’t need room for roots to grow deep. The containers I use are only about 2 inches deep and they work perfectly.
Soil
Any sort of seed starter potting mix is good, but a perlite and peat moss mix is what’s recommended by many. I actually use coco coir, but I also grow on a large scale and sell at my local Farmer’s Market. For just simple small-scale growing, I’d stick with a potting mix.
Seeds
Make sure that you read through the seeds that I suggested for beginner growers above. Pick one of those options or do your own research and try a different one. There are MANY varieties of microgreen seeds, just make sure you don’t use any seeds in the nightshade family. Better yet, make sure that whatever seeds you purchase say “Microgreen Seeds” on the label.
Of course, if you’d rather there are lots of different starter kits to help you get started growing your microgreens. My favorite kit is from Greener Harvest Seeds. When you purchase this kit you get a 10×10 inch tray set, soil, and your choice of 7 different seeds. They even offer a seed subscription box where they’ll send you more seeds and soil to be used with your reusable trays from the starter kit.
How to care for your microgreens
Once you have your supplies, it’s time to get the fun started!
Sow your seeds.
Fill your container with soil leaving about 1/4 inch of space at the top. Sow your seeds by sprinkling them on top of the soil. You don’t need to bury them, just let them sit on top. Make sure the seeds are spread evenly.
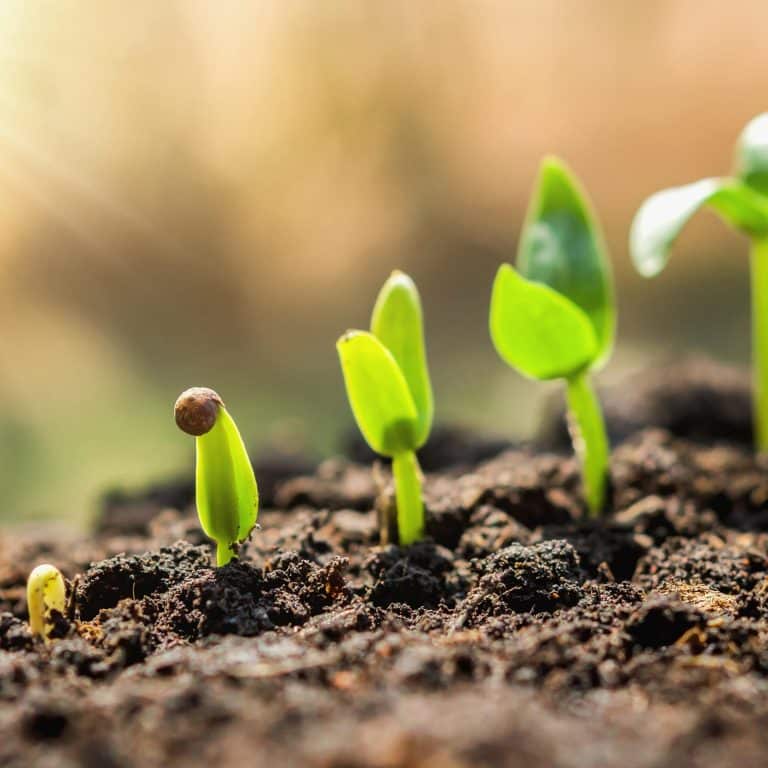
Water and wait.
Give your seeds a good watering by pouring water over the soil until it’s moist, you don’t want it soaking wet. If you have another container the same size place that over the top, or you can even just use a piece of cardboard. This helps eliminate the light and aids in the germination. Now it’s time to wait. The amount of time it takes for microgreens to germinate varies depending on the type of seed but typically takes anywhere about 2-4 days. Keep an eye on them and as soon as you see the first sign of green sprouts, it’s time for light!
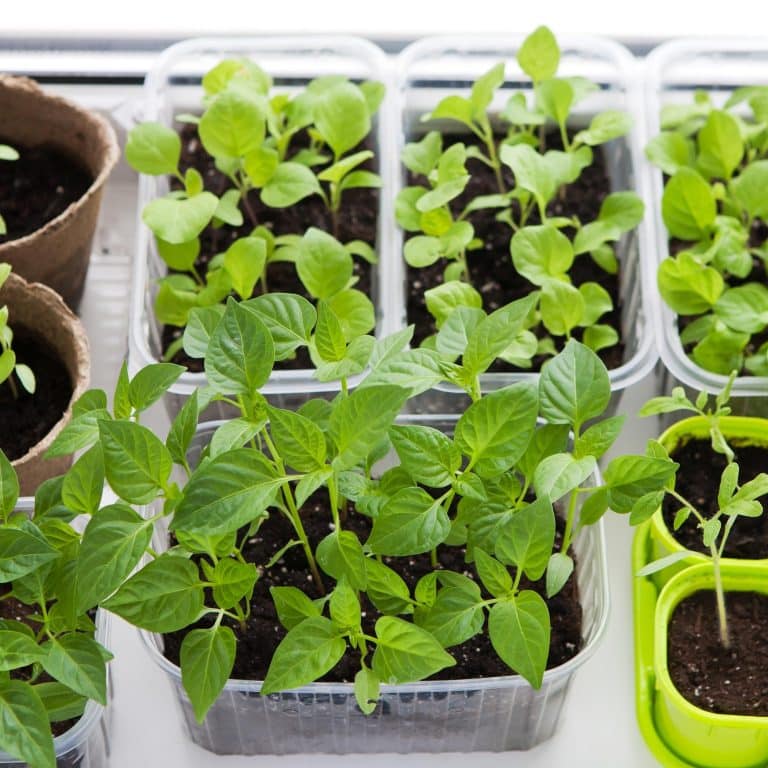
Light it up!
Place your container in a bright location that gets direct sunlight for at least 8 hours per day. Or place your microgreens under your grow light.
Harvest and enjoy!
After 7-14 days (depending on the type of seed), your microgreens will be ready to harvest.
Harvesting and Storing Microgreens
What happens after your greens are grown? Well of course the next step is to harvest your microgreens. You can choose to either harvest as you use them, or harvest all in one go and store them in your fridge.
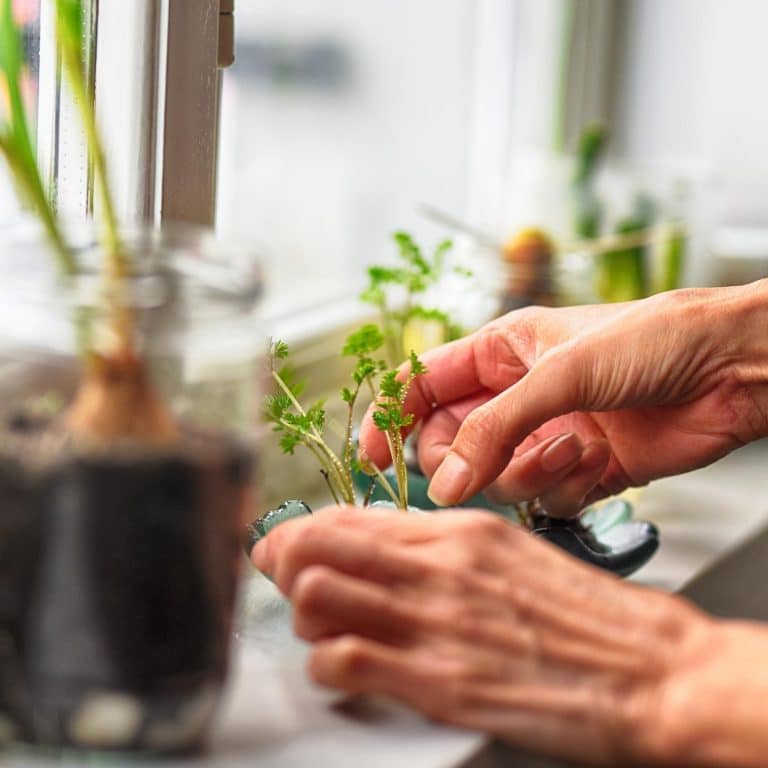
How To Harvest Microgreens
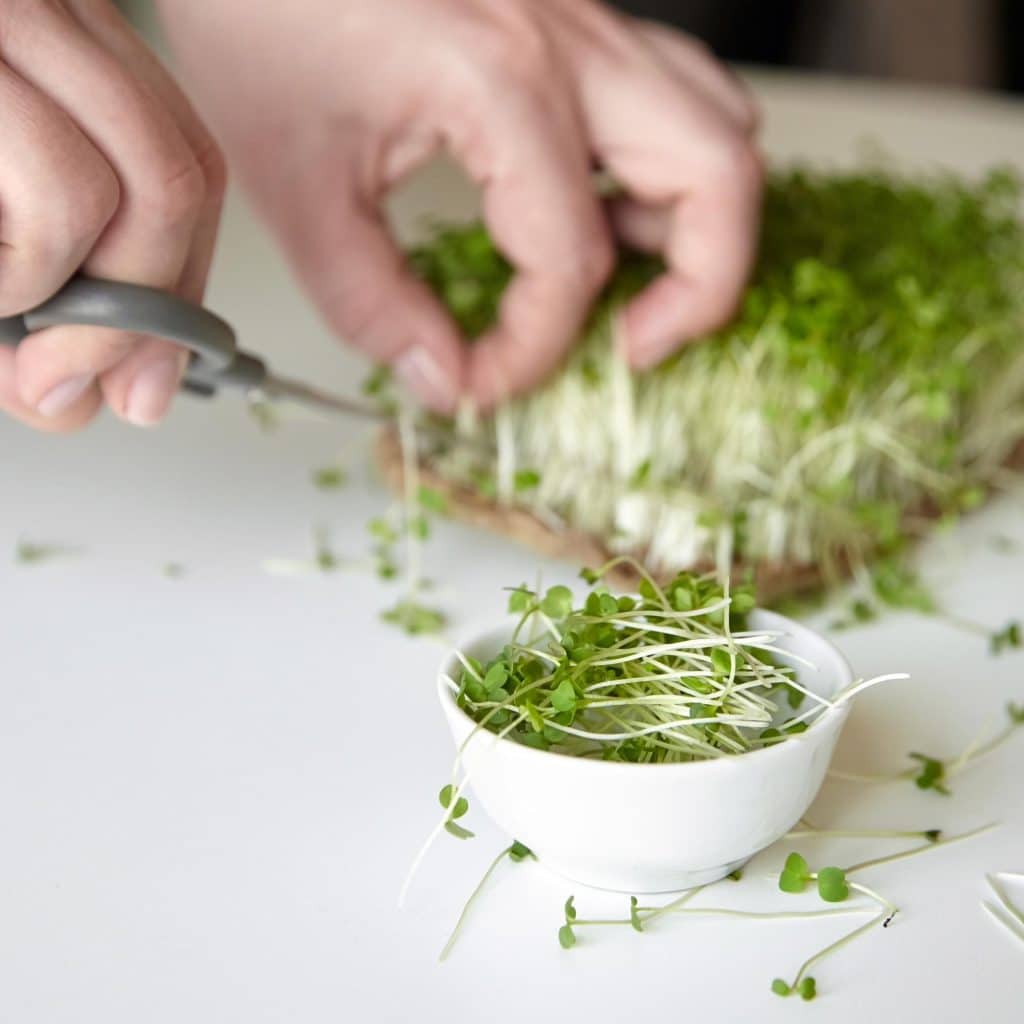
The first step in harvesting your microgreens is to choose the right kind of harvesting tool. Common tools are scissors, a large knife, or my personal choice: a utility knife. Whichever you decide to harvest with you want to make sure that it is very sharp. Once you’ve chosen your harvesting tool, you’ll need to make sure that your microgreens are ready to harvest. The best way to do this is to look for greens that are 2-3 inches tall and have their first true leaves. These leaves will be larger than the seed leaves.
Once you’ve found some greens that are ready to harvest, it’s time to get started! First, cut the Green stalks just above soil level using your harvesting tool. If you have decided to harvest as you need them, then you can go ahead and rinse them off (if you feel the need to) and use them. If you decided that you wanted to harvest them all at once so that you can replant more then the next section will be helpful.
How To Store Microgreens
You want to store your harvested microgreens in your refrigerator, but you can’t just cut them and throw them into your fridge. Make sure that you have an air-tight container or plastic Ziploc bag and a paper towel (or something to absorb the moisture). You might be tempted to rinse your microgreens before storing them, but don’t do it! Moisture reduced the amount of time you can store your microgreens. So instead, just harvest and place them into an air-tight container or Ziploc bag with a dry paper towel inside. When storing microgreens in this way they will stay fresh for a week, sometimes even longer. (I have some microgreens in my fridge right now from 2 weeks ago that look great!)
So now that you know all about growing microgreens, it’s time to get started! I encourage you to continue following me for more info and reach out if you have any questions when it comes to growing microgreens. Also, join our 10-day salad and dressing recipes email series. The recipes will help spur your creativity in the kitchen and also help you get inspired to start growing your own salads. Thanks for following along, and happy gardening!