#1 Reason Why Your Orchid Leaves Are Wrinkled
Have you ever wondered why your beautiful orchids sometimes develop those crinkly, wrinkled leaves?
And do you want to know if you can fix this?
Ive got you… do you know that this is a natural process for orchids?
Yes, it’s true!
The leaves of some orchid varieties will naturally wrinkle and pleat as they grow.
It is more common in larger-leafed species such as phalaenopsis, cattleyas, vandas, and oncidiums.
This type of leaf wrinkle is usually a sign of healthy plant development.
The good news is that although this may not look too aesthetically pleasing, it doesn’t necessarily mean that the orchid is unhealthy.
However, if you’re concerned about your orchid’s health, there are some steps you can take to help prevent or reduce pleating and wrinkles
The Root of the Problem
Those pleated leaves on your orchids stem from a few potential causes, and sometimes there’s more than one at play. So, let’s start at the beginning and identify some common culprits:
- Inadequate water/too much water (yes, it can be either… confusing, right?)
- Insufficient nutrients (i.e., fertilizers)
- Wrong soil type leading to poor drainage
- Inappropriate planting location
Incorrect light exposure
Excessive temperature or humidity
Once you identify the underlying cause, it’s much easier to develop a plan of action and fix the problem. Here are some steps you can take to prevent or reduce wrinkling and pleating in your orchid leaves:
Water thoroughly but less often, allowing enough time for the soil to dry between waterings.
Use a fertilization schedule that’s suitable for your orchid’s needs and make sure to not over-fertilize.
Provide proper drainage by using the correct soil mix and potting media.
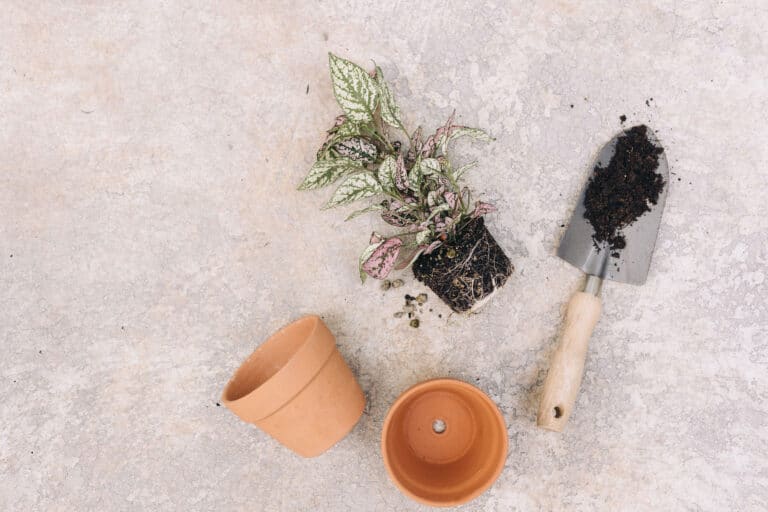
Soil Preparation: Home is Where the Roots Are
We know, it’s tempting just to dig a hole and plop your orchid in… But preparing the right soil mix is crucial for your orchid’s overall health. Orchids typically grow on forest floors, where they have tons of leaf litter and broken down organic material. Keep it as close to their natural habitat as possible using a mix of:
- Bark chips (pine or fir)
- A moisture-retaining component like sphagnum moss
- A little bit of perlite for good measure
BOOM! Now you’ve got yourself an orchid-friendly soil mix.
Fertilizers: Feed ‘Em Right
To keep your orchids looking fresh and avoid those crinkly leaves, you’ll want to use a perfectly balanced fertilizer.
Something like a 20-20-20 (nitrogen-phosphorus-potassium) should do the trick. Now, how often, you ask? Good question!
Here’s a general rule of thumb:
- Water your orchids well, THEN fertilize.
- Feed them every 2-4 weeks during active growth periods. #GrowingLikeCrazy 🌱
- Dial it back during the resting phase (about once a month).
And there you have it! An orchid’s recipe for success.
Watering & Light Requirements
Ah, where watering is concerned, the struggle is REAL. Too much or too little water, and your orchid will show its displeasure with wrinkled leaves . 🤦♀️
It’s important to create a watering schedule that works for your orchid and stick with it. A good rule of thumb is to water once the soil feels dry to the touch, about 2-3 times a week.
And as far as light goes, the best place for your orchid is close to a window that faces east or west and gets bright, indirect sunlight.
Conclusion
When it comes to taking care of your orchid, there are several factors that can contribute to leaf pleating or wrinkling.
By following the tips in this article, you can help reduce these issues and ensure that your orchid stays healthy and happy for years to come.
Remember: proper watering, fertilizers, and light exposure are key. So, go out there and give your orchid the TLC it deserves!
Happy growing!